# Attendance
# Introduction
The Attendance Web App provides options for submitting daily records of clients either per diem or fee for service. It is also set up for users to complete group documentation with short narratives and goals for clients in an easy-to-use interface.
The Attendance button can be deployed in several methods. The Quantum Support team will help you implement the best option.
# Launch the App
To launch the app, type the Attendance web app or Group Documentation URL + the name of the template you want to use.
TIP
When using the Attendance enter https://www.qscorpio.com:3066/Attendance?template_name=MyTemplate. MyTemplate is the name of the pre-configured batch template to be loaded.
Notes with short narratives and goal documentation will be entered using Group Doc: https://www.qscorpio.com:3066/Attendance/?group_doc=true
# Login

Log in using the username, password and agency key given by the Admin.
# Select a Dashboard
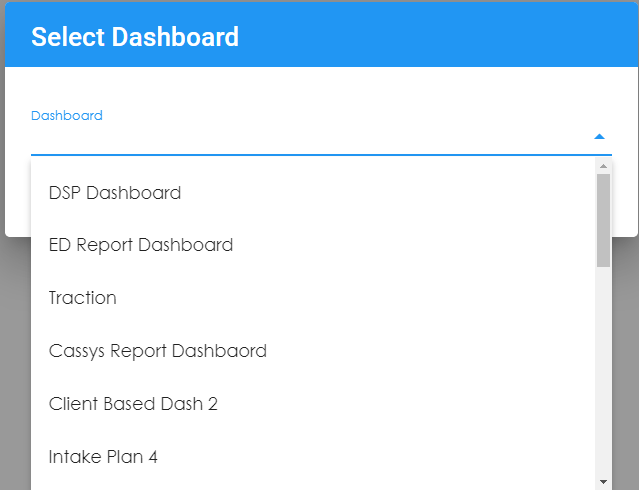
After logging in, the user will be prompted to select a dashboard.
TIP
If the user launches the app from Dashboards, the user will not be prompted to log in again or select a dashboard since they already did that in Dashboards. But the user will not be able to switch between dashboards in the app.
#
# Home Screen
The user will now see a home screen with a built-in header, footer, and side panel menu. These functions include the user guide button and the profile of who is signed in. This is in the header. Light/Dark Mode toggle is connected in the footer in the left-hand corner.

# Select Clients

The user will select a client from a pre-programmed list. Multiple clients can be selected and assigned.
# Scanner

This is how the user can add client names with a handheld scanner.
# User Guide

This is how the user can access the User Guide for the Attendance app.
# Profile

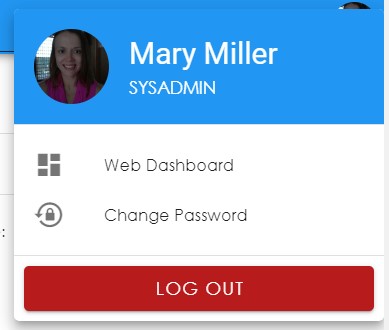
When the user clicks on the picture in the corner it opens this window which is where the user can log out of the app. They can also change their dashboard or password to login.
TIP
When the user opens Attendance from Dashboards the Switch Dashboards button will be hidden.
# Light/Dark Mode

This function will toggle between light and dark mode.

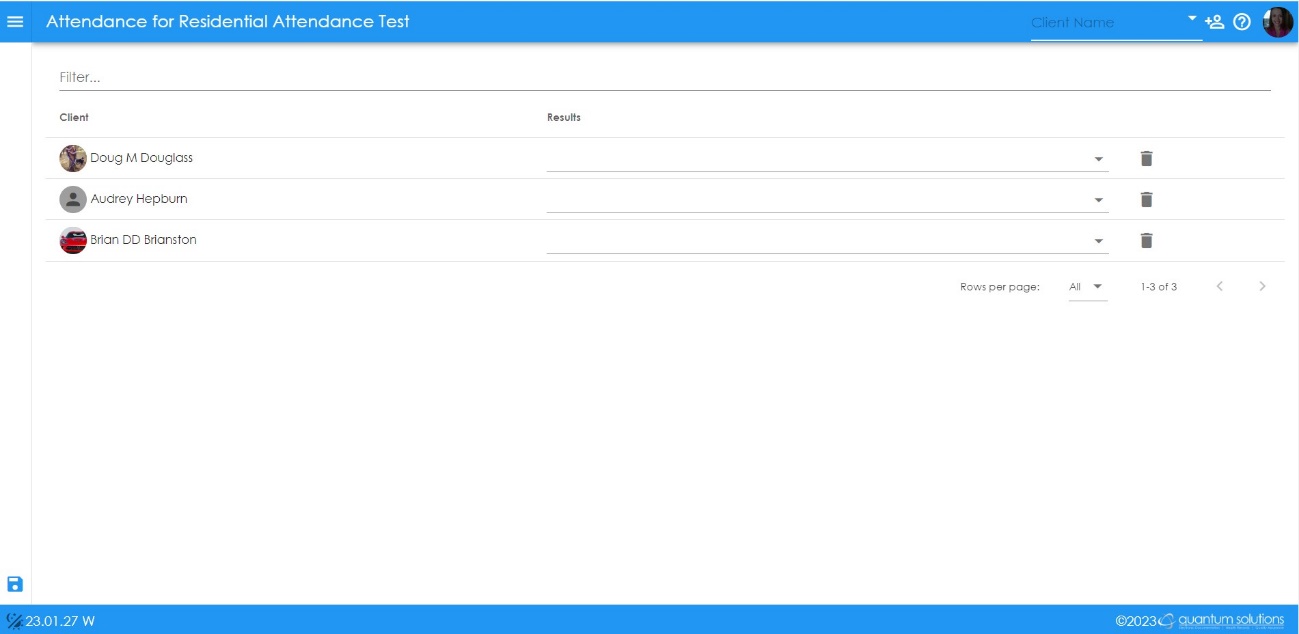
The home screen will be launched after the user selects a dashboard. The user can search for clients by clicking on ‘Select Client’ the upper right-hand corner.

Begin typing the name of the client and it will bring up all possible matches for what was typed. Click on the name of the correct client. That name will now show in place of the red bar ‘Click above to Add Clients.’ Repeat this step until all the clients’ names are present on the list.
If there is a pre-programmed group assigned to the list, the user can review and delete or add clients as needed.
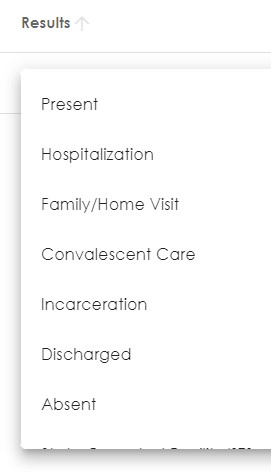
The user will select each client’s name and choose the result that day from the drop-down list.
The final step will be to click on Finish in the lower left-hand corner. The attendance note will show today’s date by default.
# Group Documentation
# Home Screen
After picking a dashboard, the user will be taken to this screen. Once the user selects an activity, additional questions will populate the note. The user must answer all required questions and then select the Add Clients button. The button is at the bottom of the menu.

# Add Clients

The user can use this icon as a shortcut to add clients. The icon is located to the left of the Add Clients button.

# Search Clients
The user can now add clients to the note started in the previous screen. You will see a prompt to please add client.
The user can search for clients by clicking on ‘Select Client’ the upper right-hand corner. Select the name of the correct client. That name will now show in place of the red bar ‘Click above to Add Clients.’ Click on ‘Select Client’ multiple times to add all clients for group documentation.
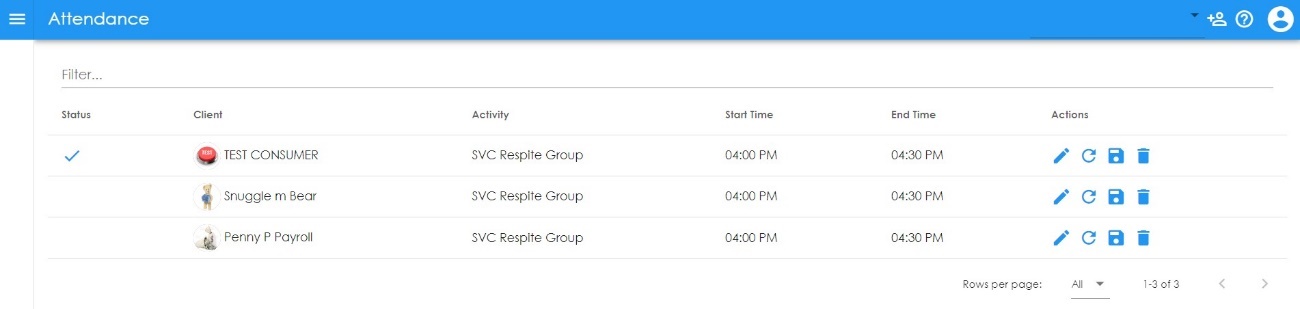
# View Detail

The user will click on the View Detail icon to edit the existing web event note. When the note passes audit there will be a check mark that populates under Status. The user will select View Detail on the next client and repeat the same steps until all notes have been edited.
# Delete

The user will click on the Delete icon and receive a confirmation message before the note disappears.
# Save

The final step will be selecting the Save button in the lower left corner.
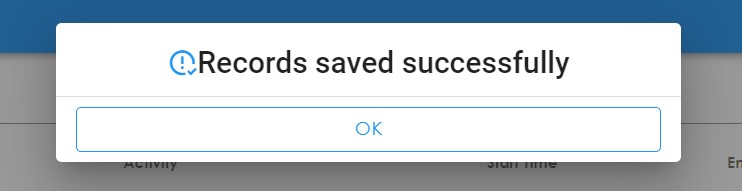
The user will be prompted to select Finish or Finish Later. Finish Later will transfer the notes to a revision status to be completed later.

After clicking on Finish there is a second message stating records were saved successfully. Select OK and the note screen closes. The note has been saved.
# Additional Functions
Once the user has completed the note there are additional functions available to them in the left side panel.
# Print Report


The blue printer icon will populate an IQ Report version of the note with the option to print.
# Request Delete


The user will be prompted to send in a reason why for delete request. This can be configured by an agency.
Exit


The orange page marked with an X allows the user to finish later or send in a delete request. Cancel will bring the user to the previous screen.
Finish Report

The blue Finish icon is how the user will save their documentation after all required questions are completed.
Last Updated: 10/7/23
# Change Log
Version 25.03.28 W
Version 25.02.11 W
Version 25.01.30 W
Version 25.01.13 W
Version 25.01.08 W
Version 24.11.08 W
Version 24.11.05 W
Version 24.10.30 W
Version 24.07.24 W
Version 24.07.18 W
Version 24.04.18 W
Version 24.04.03 W \