# Healthcare Evals
# Introduction
The user can use this app to document medical appointments for their clients and add follow up as needed.
The Healthcare Evals application can be deployed in several methods. The Quantum Support team will help you implement the best option.
# Launch the App
The app can be accessed by entering the Healthcare Evals URL in the search bar.
TIP
Healthcare Evals URL https://www.qscorpio.com:3066/HealthcareEvals
# Login
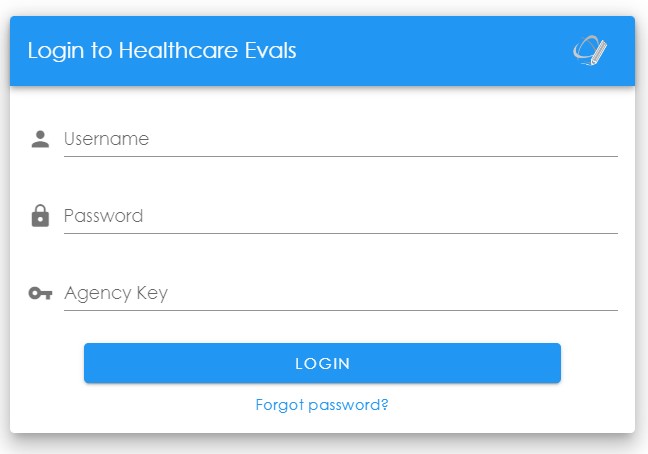
The Login screen will be presented when you first launch the web app. The user will insert their Username, Password, and Agency Key assigned to them by their Admin.
# Select Dashboard
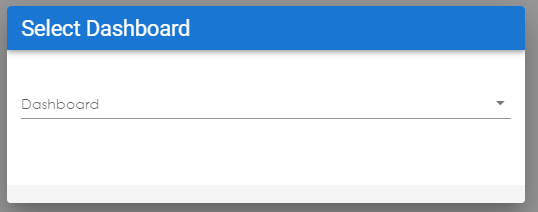
After logging in, the user will be prompted to select a dashboard.
TIP
If the user launches the app from Dashboards, the user will not be prompted to log in again or select a dashboard since they already did that in Dashboards. But the user will not be able to switch between dashboards in the app.
# Home Screen
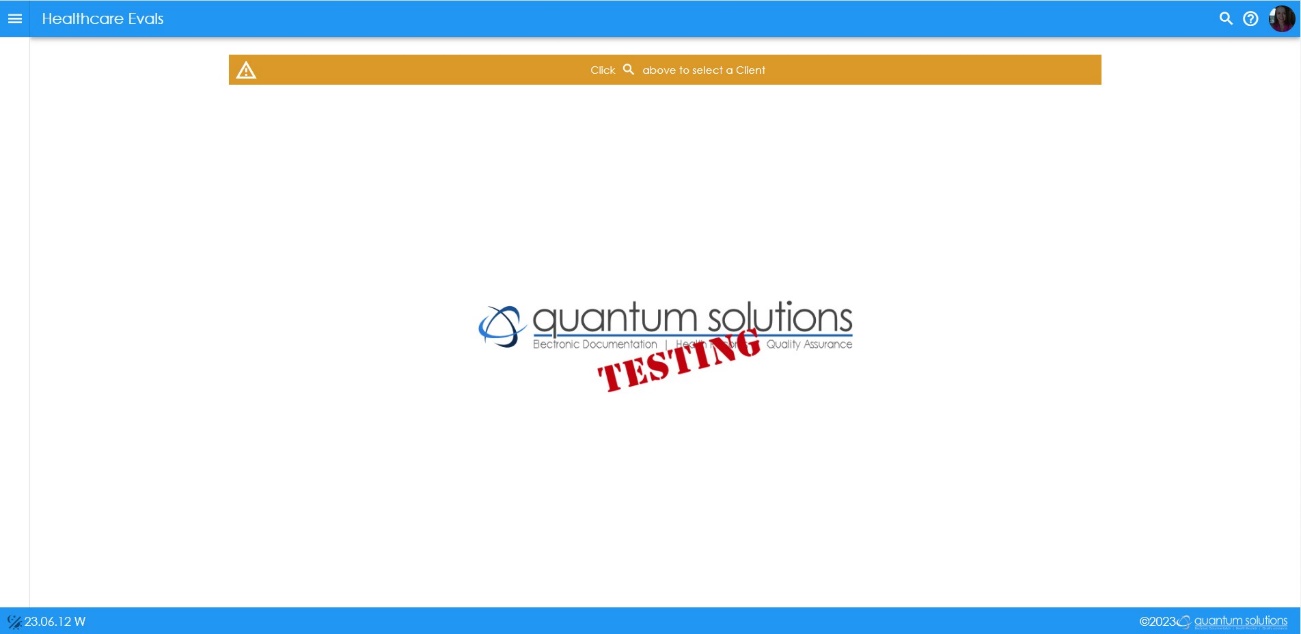
After the user has selected a dashboard, the home screen with be shown. The user’s company logo will be shown in the middle of the screen where the ‘quantum solutions’ logo is now.
Notice there is a header in this app with several functions present.
These functions include searching for a client, accessing the User Guide, and utilizing the User Profile with options to switch dashboards and log out. The ability to toggle between dark and white screen modes is in the footer on the left side.

These functions include the client search, the link to user guide, and the profile of who is signed in.
# Select Client Name

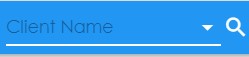
This button is how the user can search for a client. The user must be on the right dashboard to find the right client. There is also a prompt on the home screen on how to select a client. 
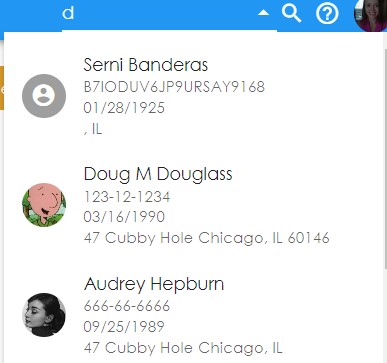
The Client Name Selector screen will be shown, and the user can begin searching for their client in the top search bar. The user can type as little or as much of the client’s name as they feel necessary, but the user must type something otherwise no client names will be shown.
# User Guide

This is how the user can access the User Guide.
# Profile

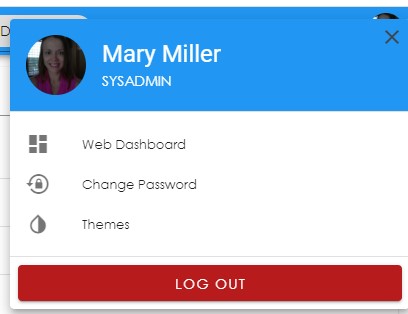
When the user clicks on the picture in the corner it opens this window which is where the user can log out of the app, change their password, and switch their Dashboard. The user can also change the color appearance of their screen through Themes.
TIP
When the user opened Health Care Evals from Dashboards the logout button will be hidden.
# Light/Dark Mode
This function will toggle between light and dark mode.
# Client Card
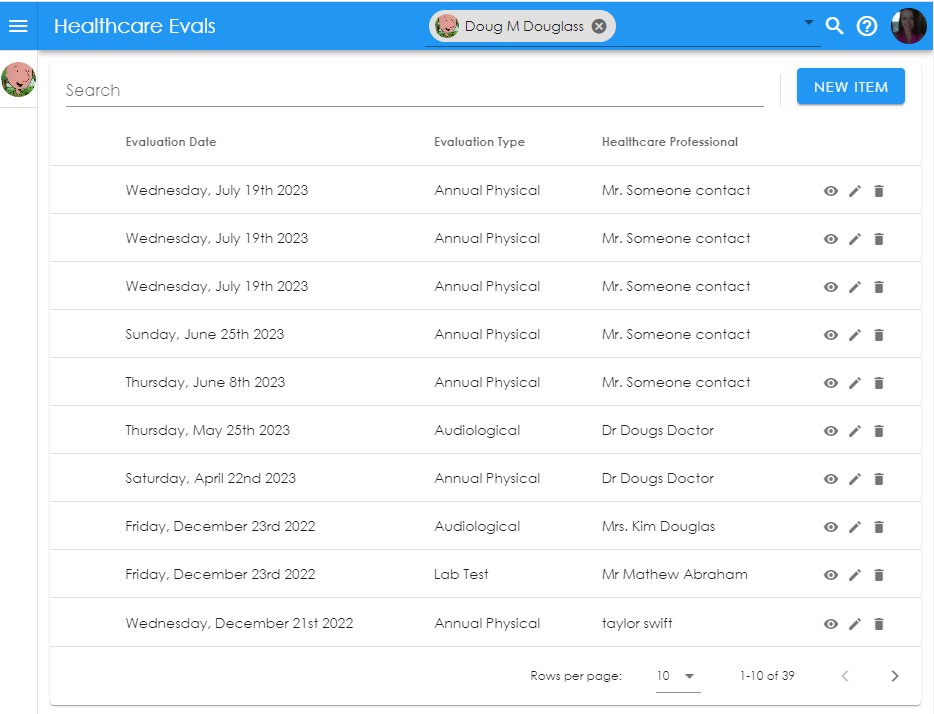
The Client Card will show all the Evals that the client has. The user can filter through the Evals by searching for either the Date the Eval was done, the Type of Eval, or the Healthcare Professional.
# Functions
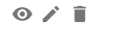
These functions are found next to the individual eval short summary and allow for the user to see the full eval and delete the eval if needed.
# View

The view function allows the user to view the health eval without access to editing.
# Edit

The edit function allows for the user to view and edit the health eval. Be sure to save any new changes using the save button.
# Delete

The delete function lets the user delete the health eval. Once it is deleted it cannot be retrieved.
# Create New Item
The blue ‘New Item’ button to the right of the filter search bar shows how the user will add a new health eval. This will take the user to the eval sheet.
# Eval Sheet
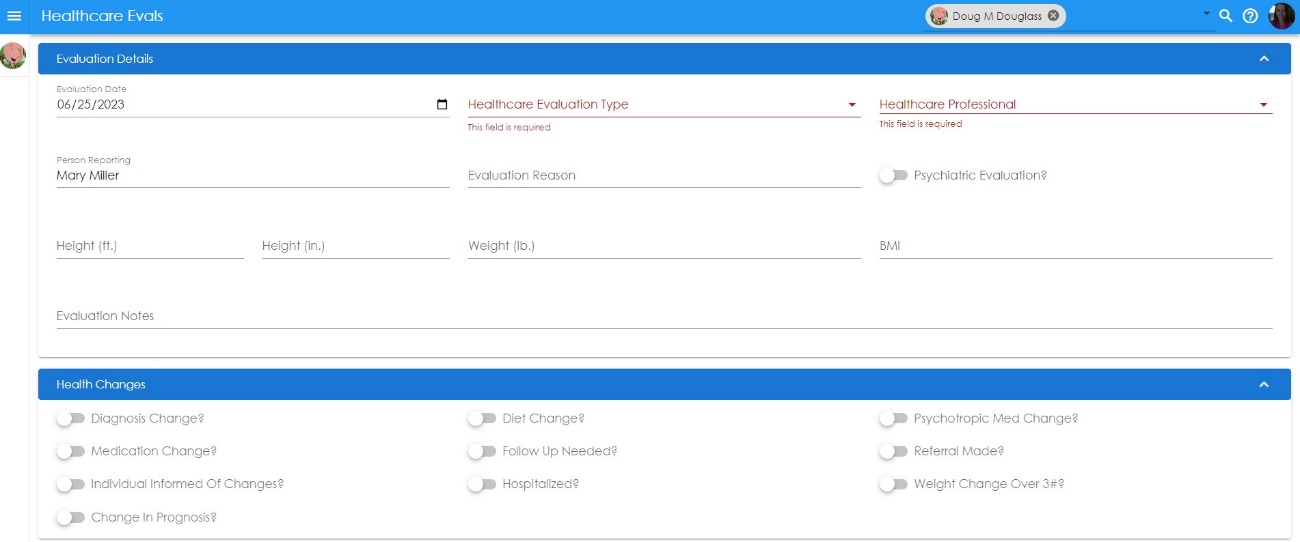
This is the eval sheet that will be filled out and viewed by the user. Today’s Date and the Person Reporting will be populated. Any fields marked as required will be flagged on the form in red.
# Additional Functions
# Signatures

There will be default signature options populated with the option to add more.
# Attach Document

There can be multiple documents added through the Attach Document option. Only users with permission will be able to upload and view documents.
#
# Save


The save button is at the bottom of the eval sheet, in both the edit and new eval sheet. The save button must be clicked for the new changes to be saved.
# Cancel

The cancel button will exit out of the eval and return to the main client card screen. This button will not save any new changes, it will only exit out of the new/editing eval.
Last Updated: 8/8/2023
# Change Log
Version 25.04.03 W2
Version 25.03.11 W
Version 24.12.11 W
Version 24.05.23 W \