# QMobile
# Introduction
QMobile provides access to Quantum Solutions' functionality and data through a convienient and user friendly interface. Not all of Quantum's application module are availble in QMobile. However, it is designed to provide the EVV compatibility and the most common features needed on the go.
# Launch the App

You are to launch the app by either downloading QMobile from the Apple App Store or the Google Play Store, or in your browser by entering the QMobile URL in you browser’s address bar.
TIP
QMobile URL https://www.qscorpio.com/mobile
# Login
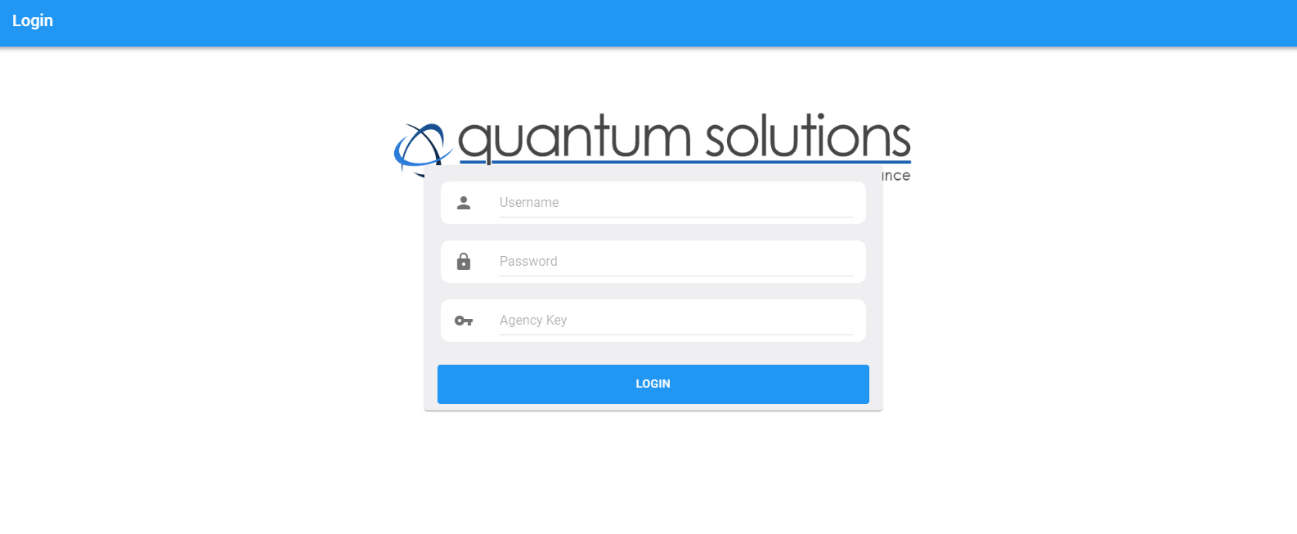
To logon to QMobile, you will use your username, password, and agency key as assigned by your System Administrator. If you do not have your credentials, please see your System Administrator.
WARNING
Your user account must be given rights to access the web applications.
To Do
Insert link to security document here
# Select Dashboard
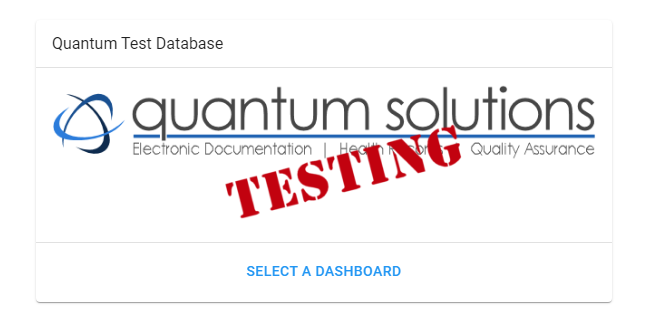
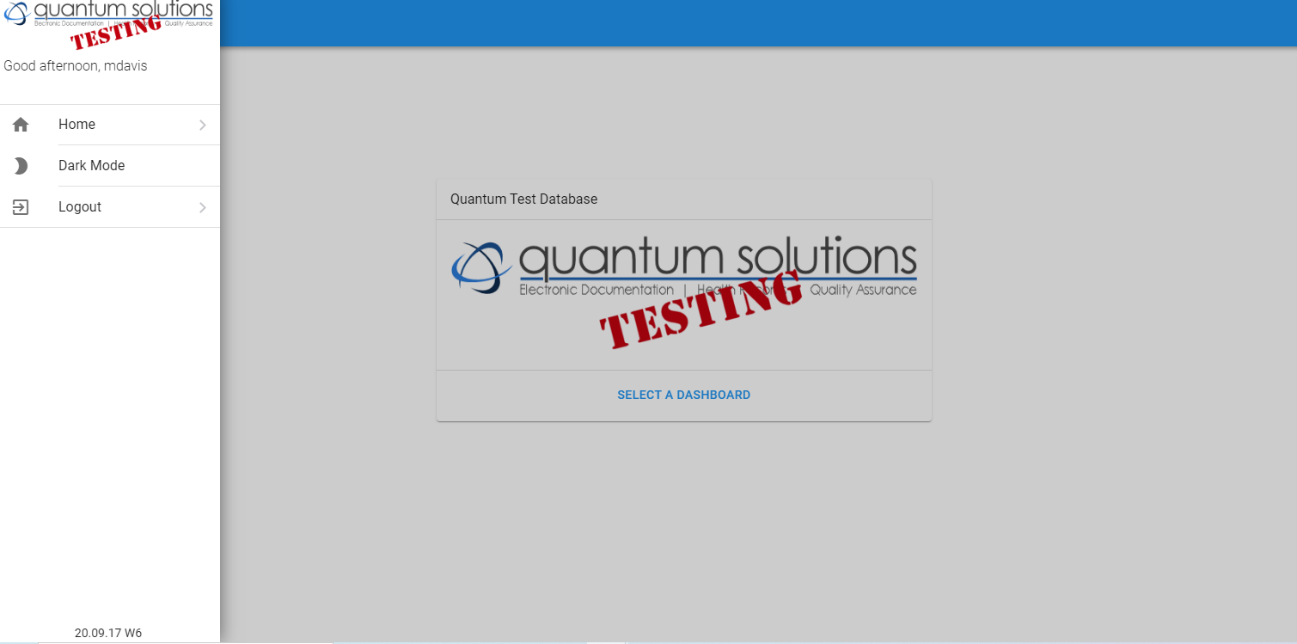
Once you logon, your agency’s logo, if configured, will be displayed. Just like in Q Thick Client, you must chose a dashboard before any features are available so the proper configuration and securities can be applied.
Click the Select A Dashboard button to display a list of dashboards to which you have access.
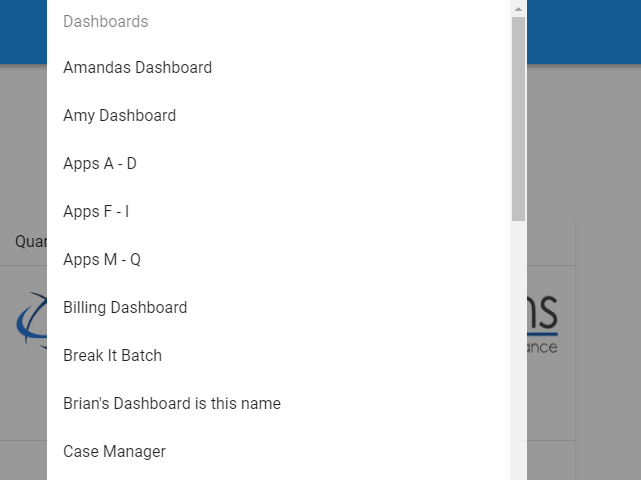
Once a dashboard has been selected, the Side Navigation Menu will be displayed.
# Side Navigation Menu
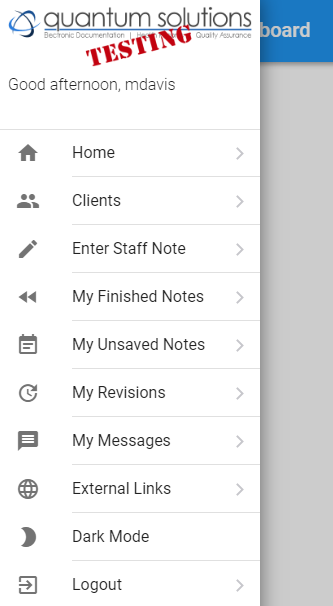
The Side Navigation Menu will provide access to the difference available. You will access this menu frequently.

You can open it by clicking the three horizontal lines in the upper left-hand corner.
Note:
The Side Navigation Bar will look different depending on if you have selected a dashboard or not. You are given more functions once you have selected a dashboard
# Home
# Clients
This menu option will give you access chose a client and preform functions specific to that client.
# Client list
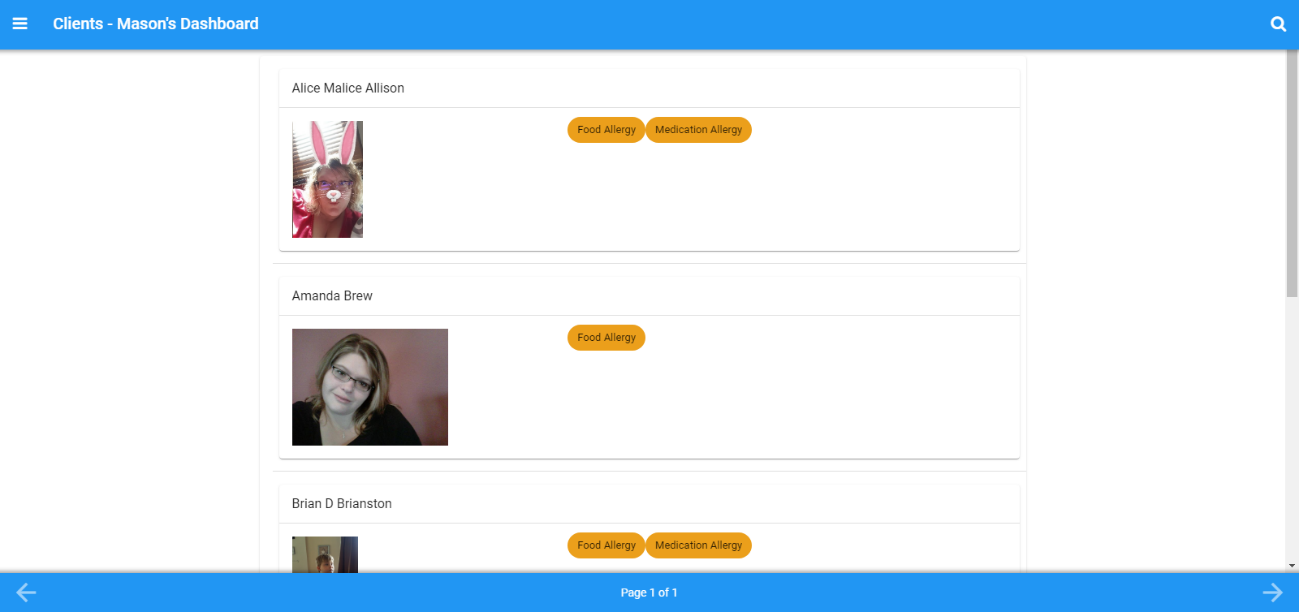
The Client List is in alphabetical order by last name. It lists all the clients that you have access to. It will show up to 100 clients per page and you can either go from page to page by using the previous and back arrows at the bottom of the page, or by using the search bar in the top right hand corner by pressing the magnifying glass.
# Client Card
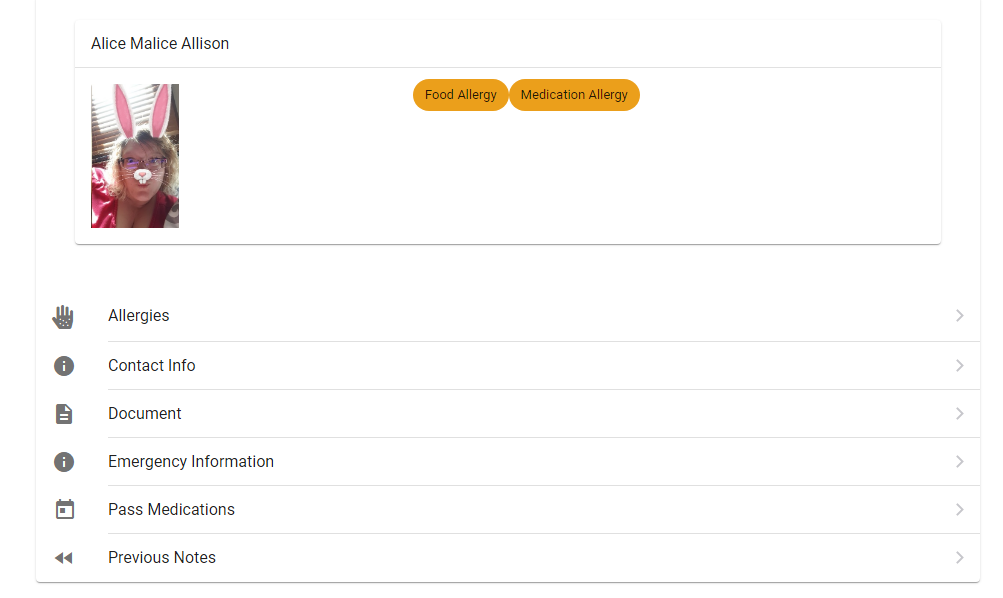
When you select a client from the list, its client card is displayed. The client card is shown with a picture of the client (if they have one), an alert of any allergies and under that is a list of client functions.
# Allergies
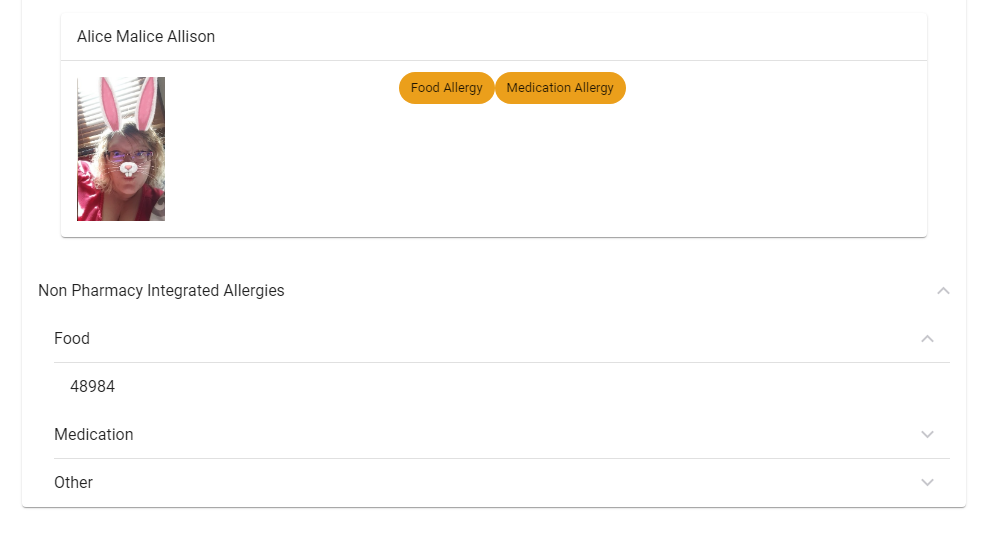
When you select the Allergies Function from the Client Card, the allergies window will pop up with 1-2 drop downs depending on the client. The drop downs are for Non Pharmacy Integrated Allergies and Pharmacy Integrated Allergies.
WARNING
Pharmacy Integrated Allergies require an active pharmacy integration
# Contact Info
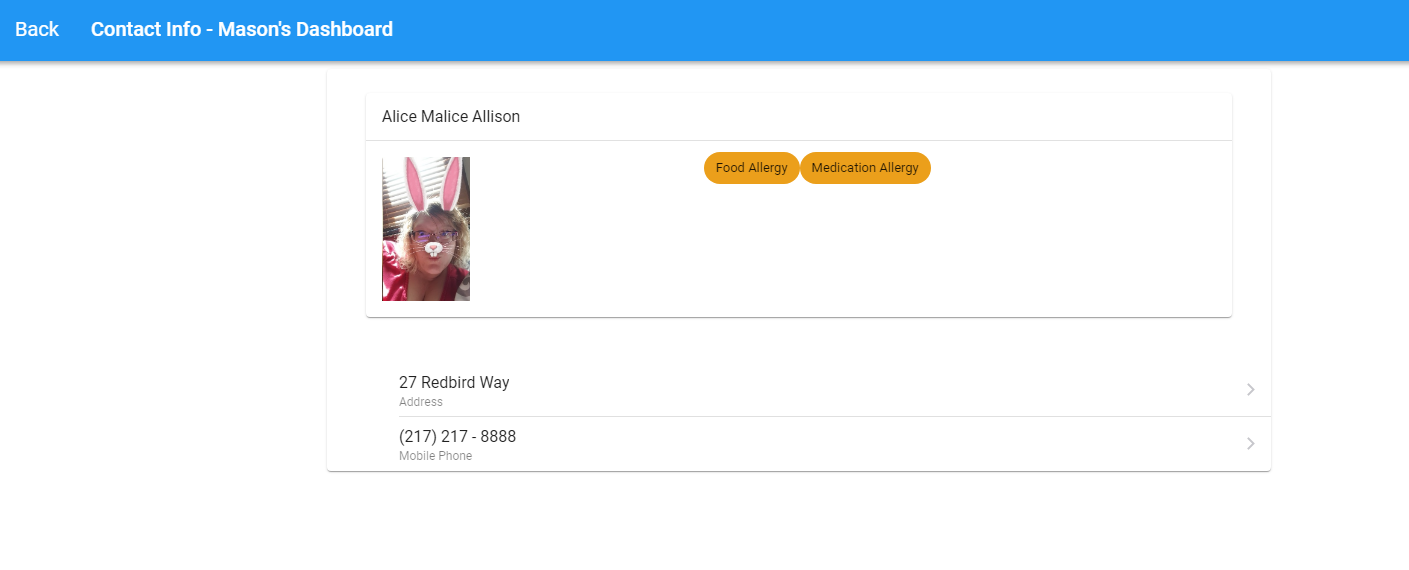
Contact Info is another function on the client card. It lists basic client information like the client’s address and possible phone numbers. Clicking the phone number will attempt to dial that number. Also, clicking the address will attempt to bring up Google Maps
WARNING
If you are not on a mobile device, the system will attempt to use your default VoIP application.
# Document
# Select Event Note
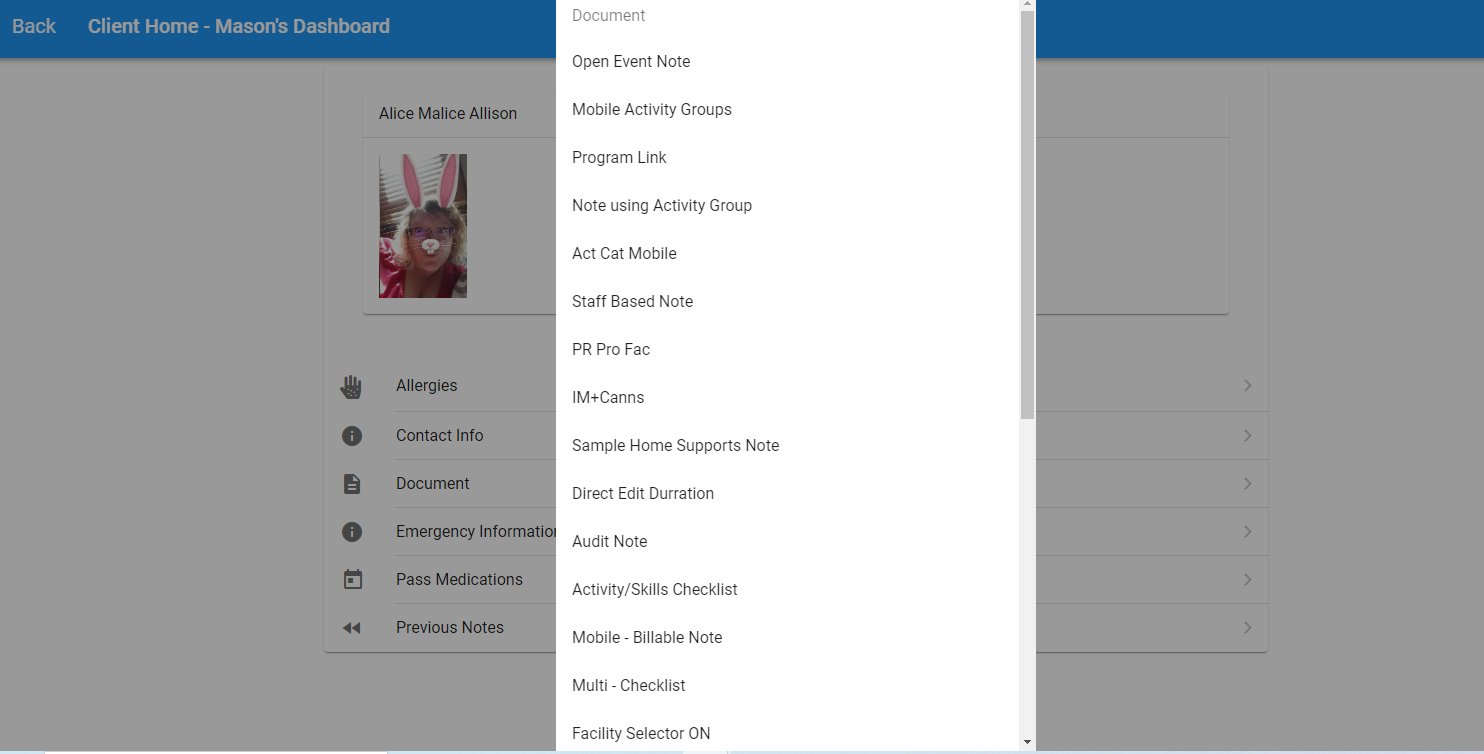
The document list shows a list of preconfigured even note documentation buttons from the dashboard.
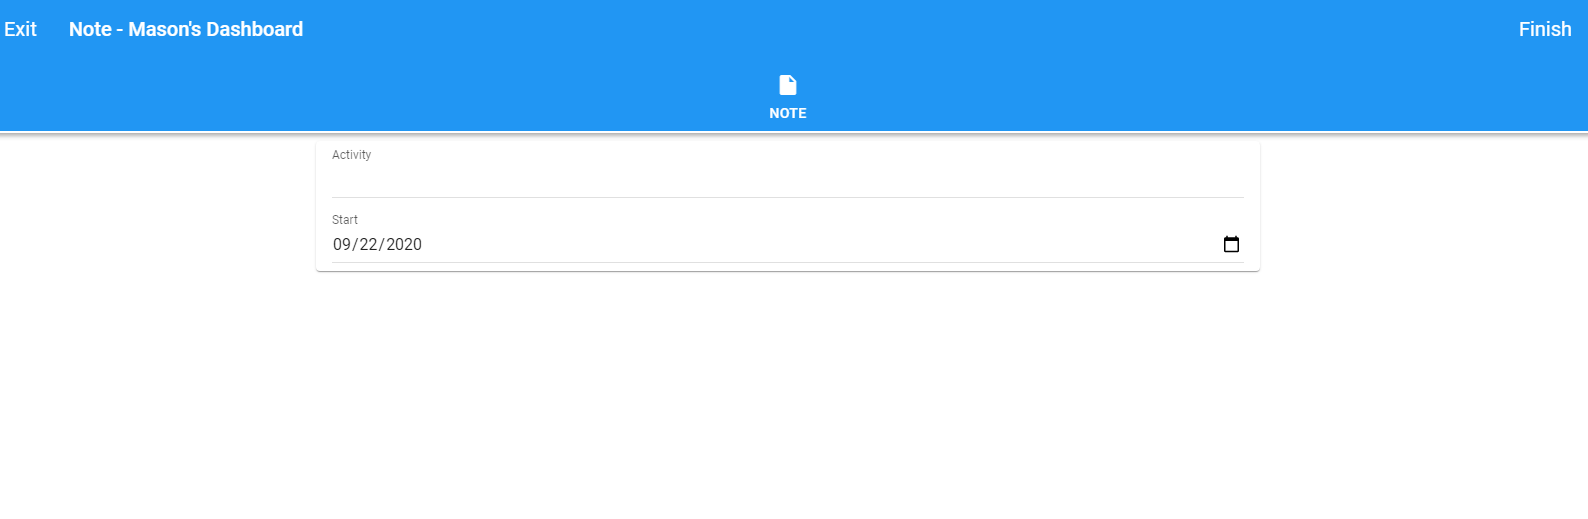
# Event Note
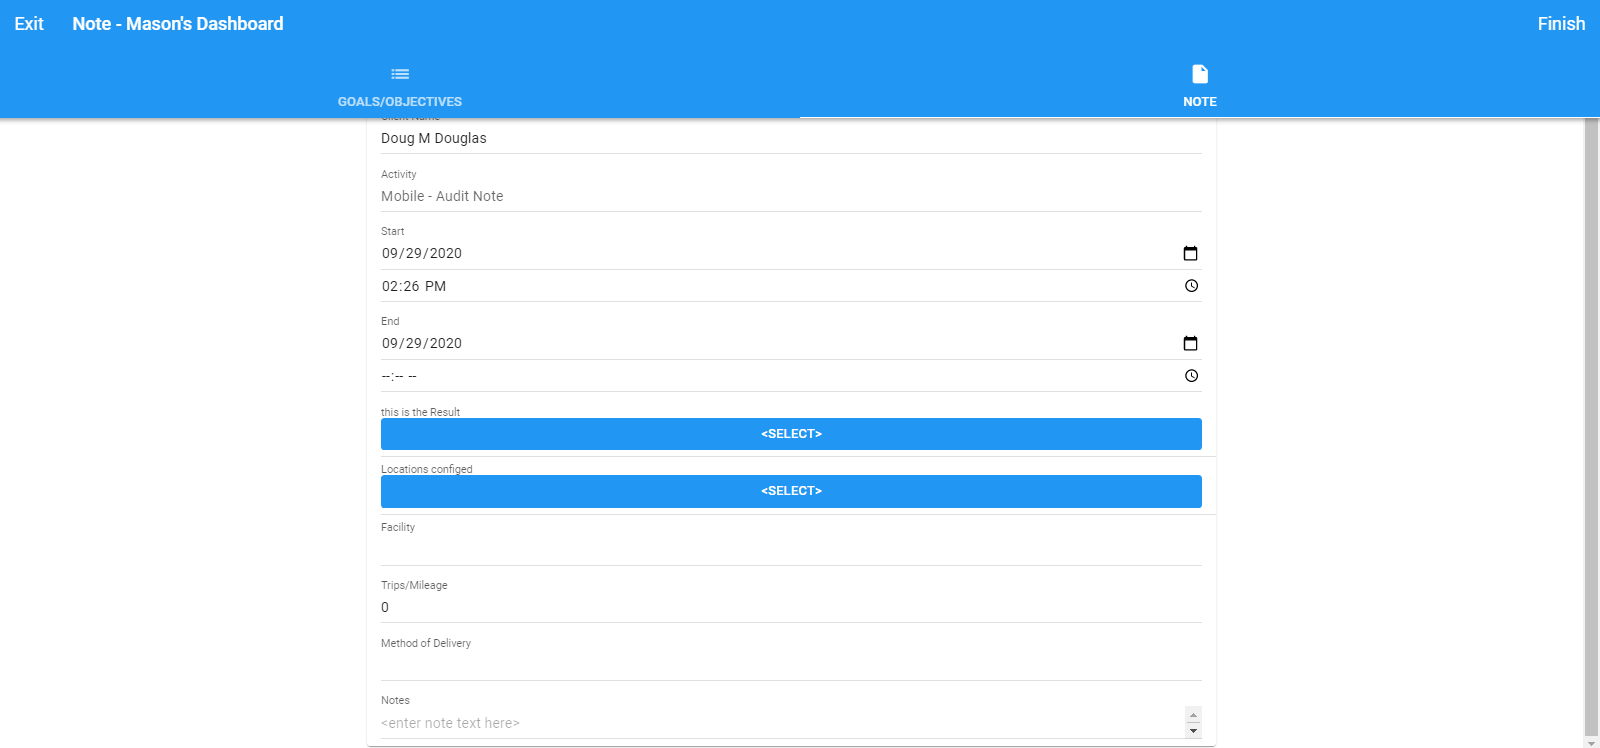
The event note documentation screen will be displayed. It will be configured based upon the selected activity just as it is in the Q Thick Client. You can leave the event note by pressing either Finish or Exit.
# Tabs

The event note has multiple tabs which, enabled for the activity, will be displayed on the event note. They are Goals and Objectives, Note, Signatures, and Q and A.
# Goals and Objectives

Any configured Goals and Objectives configured for the selected activity for the selected client will be displayed. The user must first select the Objective Category unless it was pre-configured on the Event Note button.
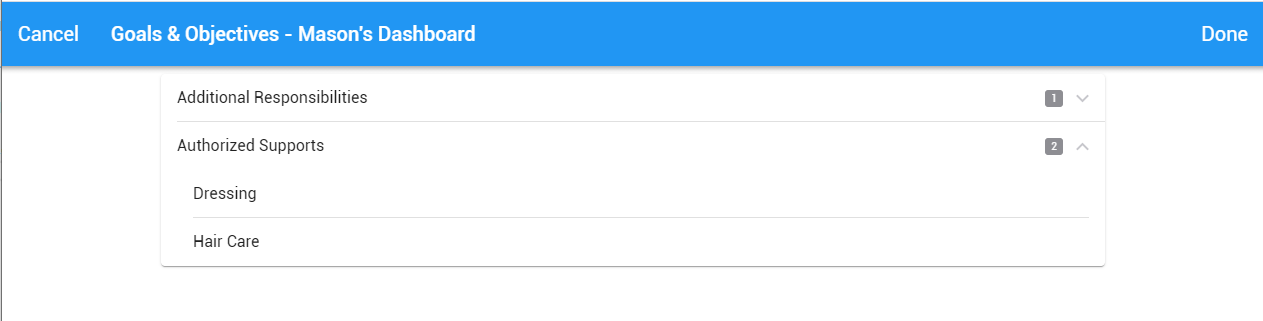
Once a category has been selected, the user will have the option to choose the Goal and Objective upon which they would like to document.
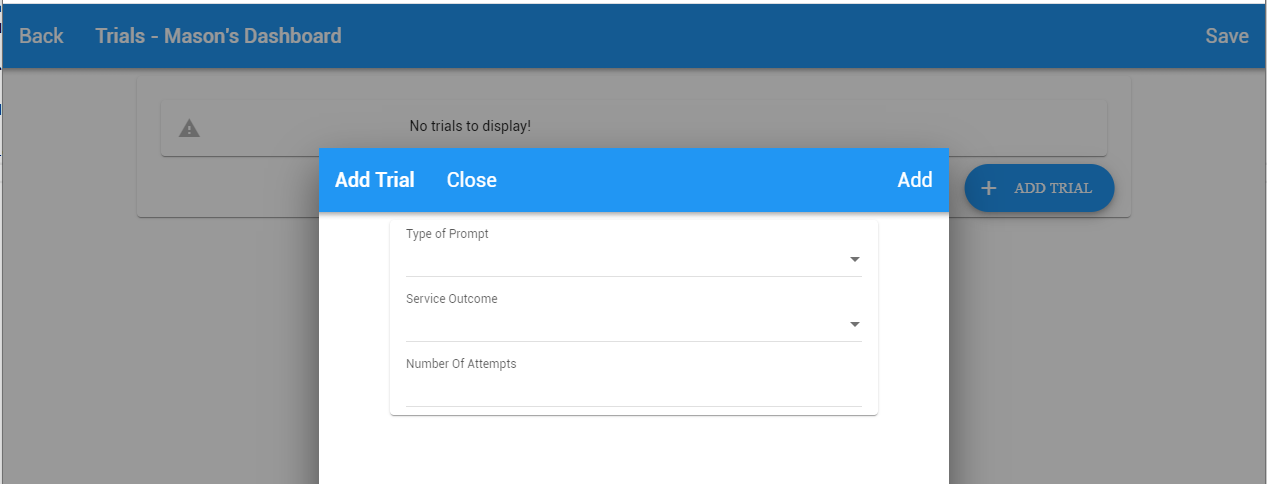
The user can then add as many Trials as necessary. Then click Save or back.
# Signatures
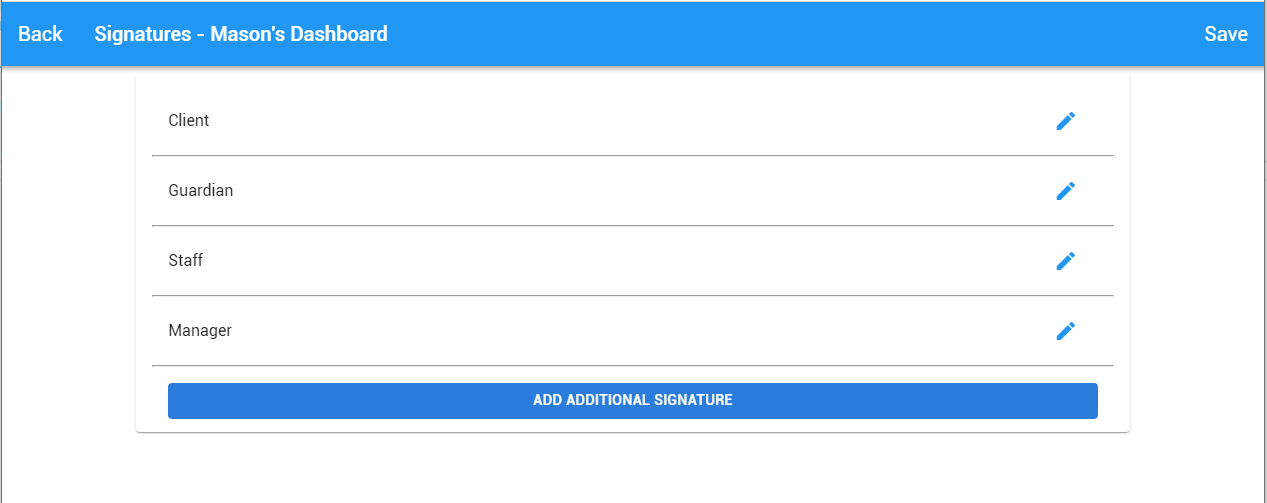
If signatures are configured for this activity, the Default Signatures will be displayed. The user can choose which default signature to sign or add an additional signature.
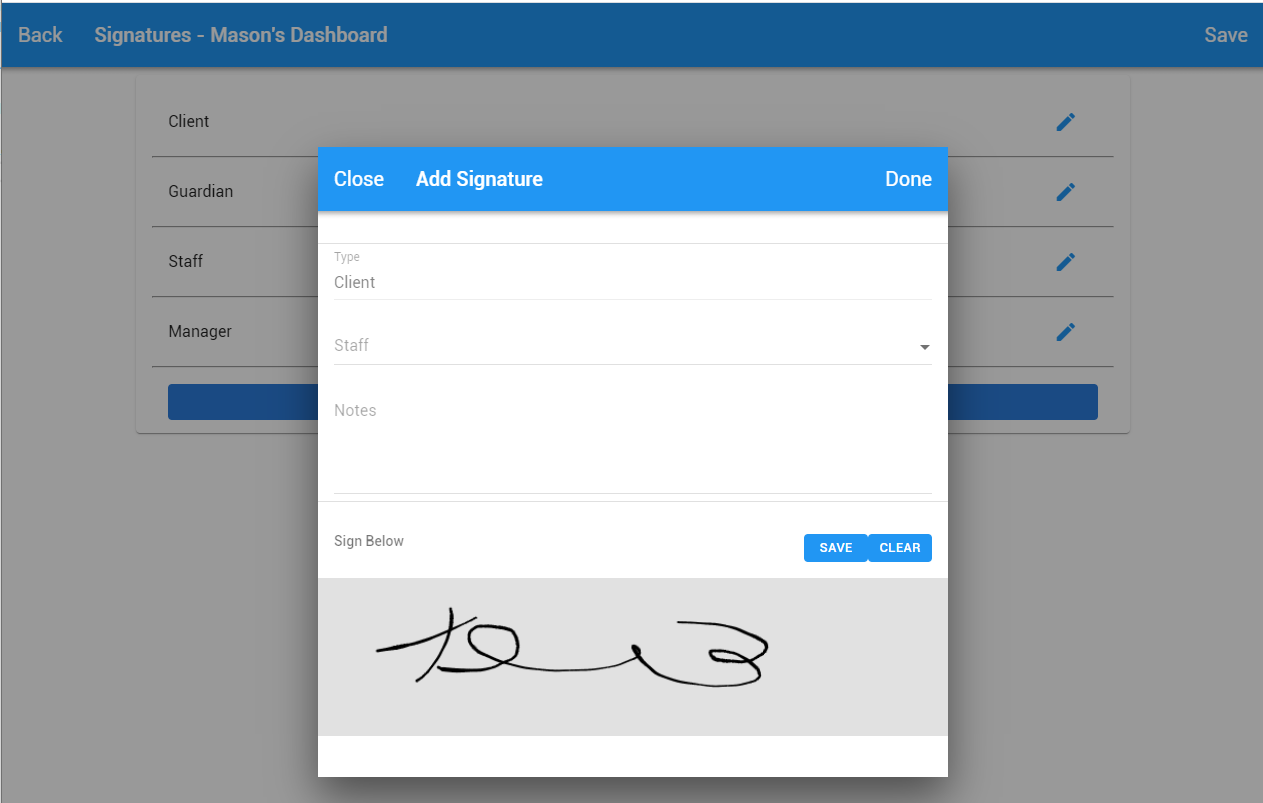
When signing, the user has the option to select the Staff, if a staff person is signing, enter any notes required, then sign with either their finger, a stylus or the mouse. Then click “Done” to close the signature window and then “Save” the signatures.
# Q and A
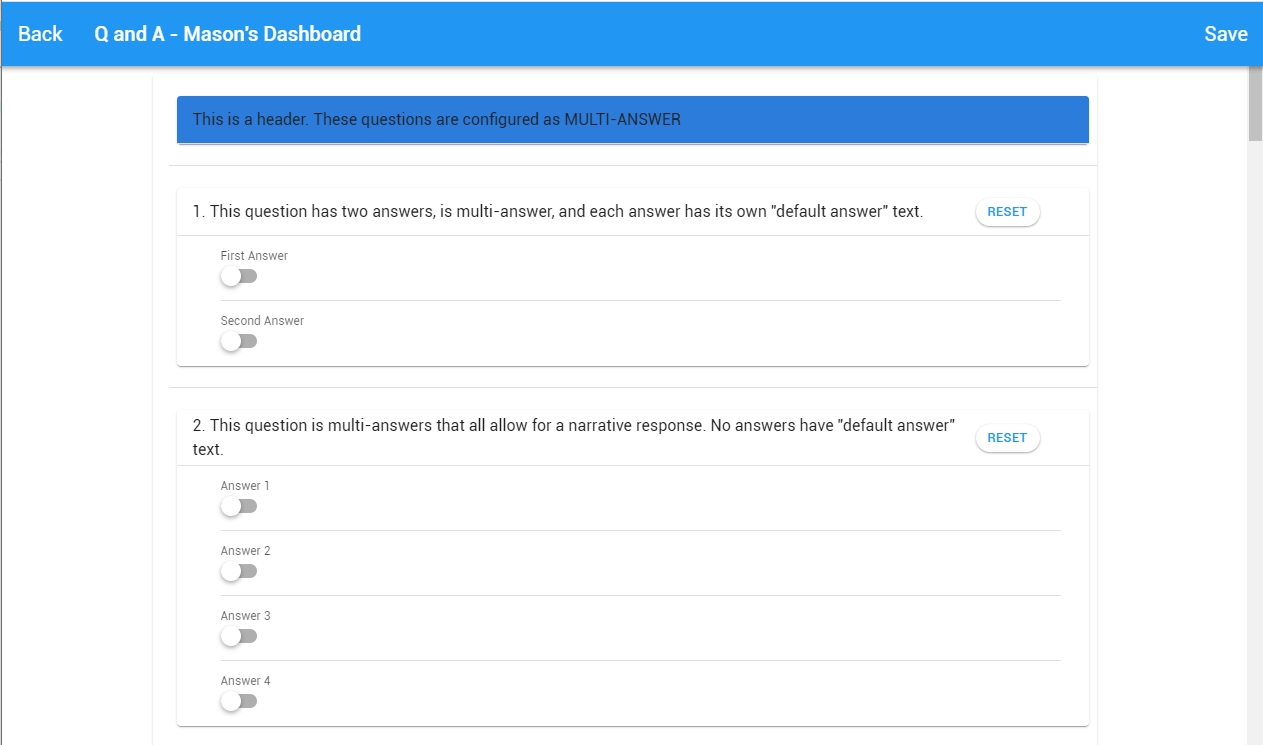
The Q and A tab will be displayed allowing the user to completed the form by answering the questions.

If the user attempts to save the Q and A form without completing the required questions, the user will be directed to the incomplete required questions, which are highlighted red.
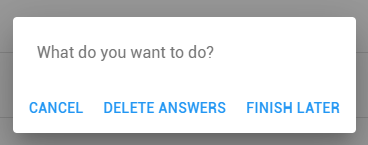
If you click the “Back” button, you are given a dialog with 3 options.
# Cancel
Cancel will close the dialog and return the user to the Q and A form so they can continue documenting.
# Delete Answers
Delete Answers will delete and completed answers from the Q and A form and return the user the Note tab of the Event Note
# Finish Later
Finish Later will allow the user to return to the Note tab to complete documenting. However, the user will not be able to Finish the event note without completing the Q and A form.
# Finish

When you are done writing the Event Note click Finish in the upper right-hand corner. This will save it to the server, close your note and take you back to the client card.
# Audit Failed
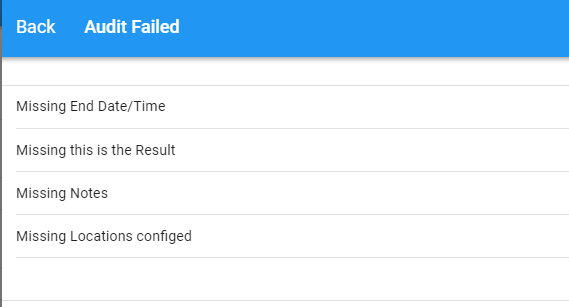
If Auditing is enabled and you are missing any required information, the Audit Failed screen will appear telling you what you missed.
# Exit

If you wish to leave the note without finishing it, press the Exit button in the upper left-hand corner. This will display a dialogue with three options.
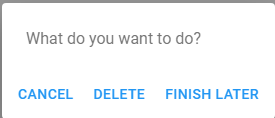
# Cancel
Clicking Cancel will close the dialogue and takes you back to the note.
# Delete
Delete fully deletes the note and takes you back to the client card.
Warning
This note will be gone forever and will not be able to be recovered.
# Finish Later
Finish Later allows for you to save your note to complete later where you can access them in the My Revisions tab located in the Side Navigation Menu.
# Emergency Information
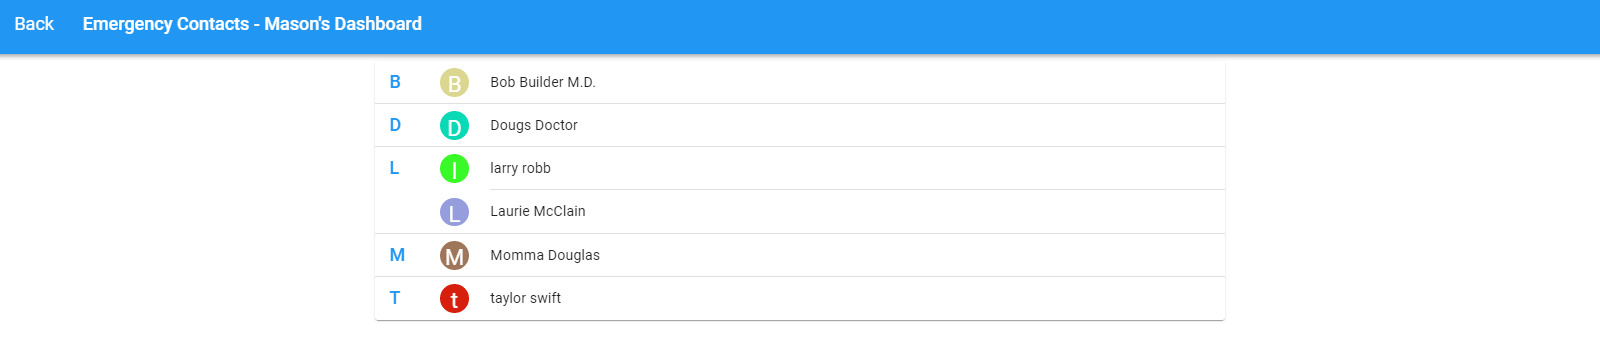
Emergency Information is the client’s emergency and medical contacts.

If you click on the contact, the contacts information will pop up with their phone number and relationship to the client.
# Pass Medications
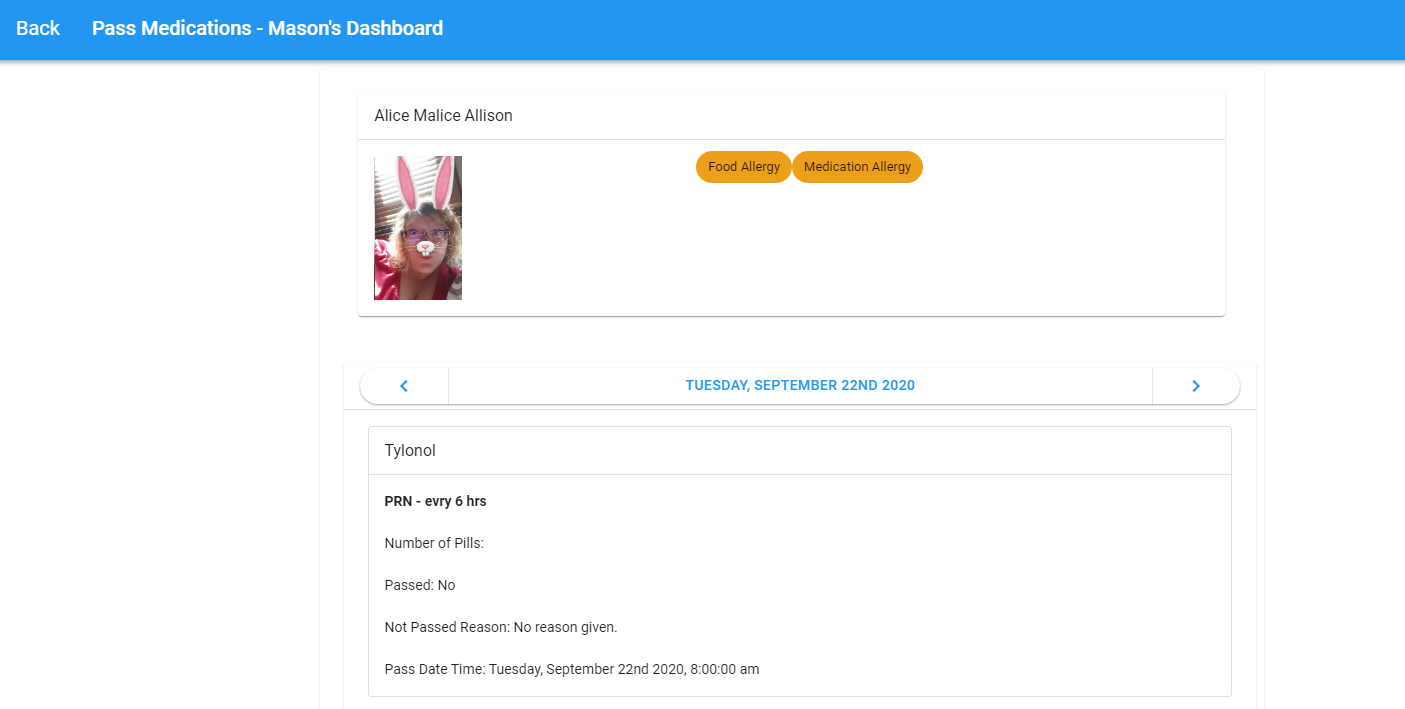
WARNING
This feature is not yet fully implemented.
This is an integration with FlexMAR and will allow the user to pass medications. However, this application is just prototyped and is not completely functional.
# Previous Notes
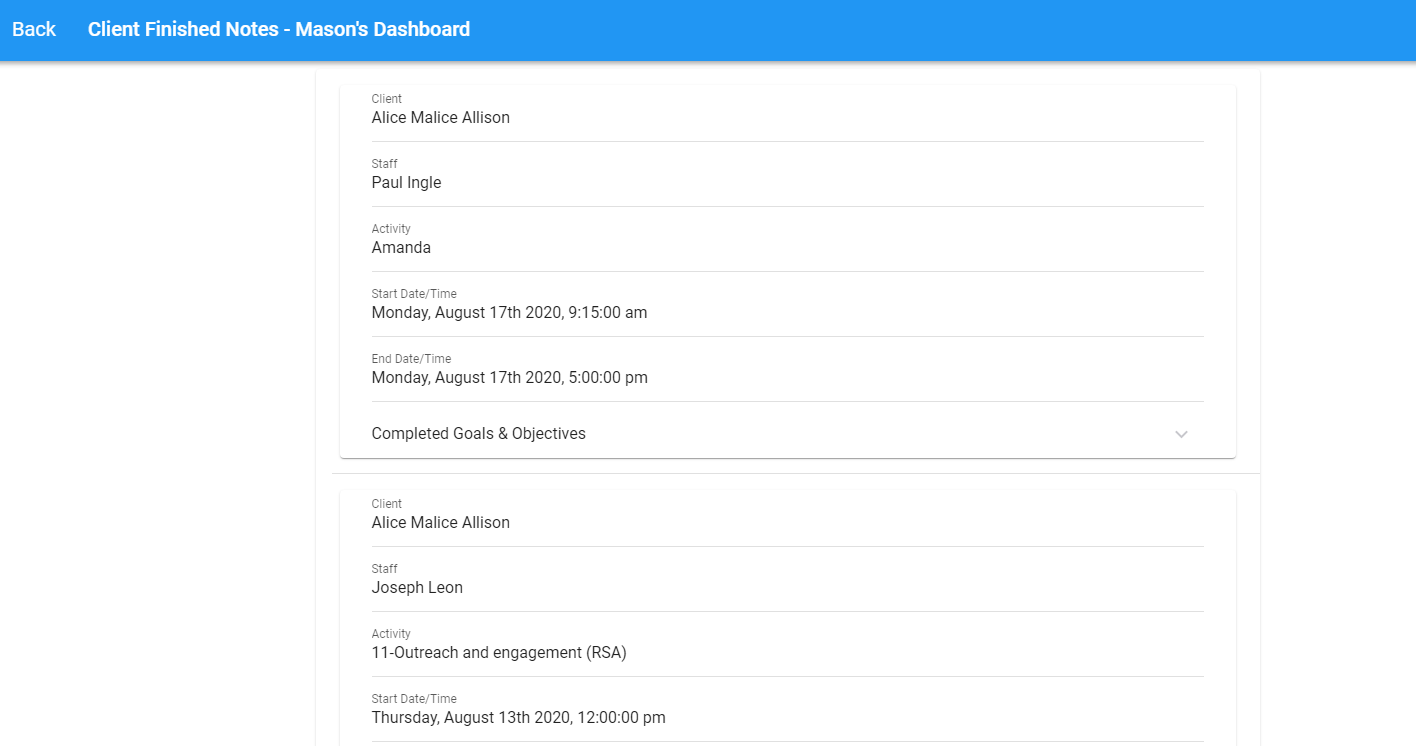
The function Previous Notes is a list of the last twenty-five Event Notes written about the selected client written by any staff member.
# Enter Staff Note
This is an Event Note written about a staff person rather than a client. All the same features and functionality of the client Event Note are supported. For more information, see the client Event Note.
# My Finished Notes
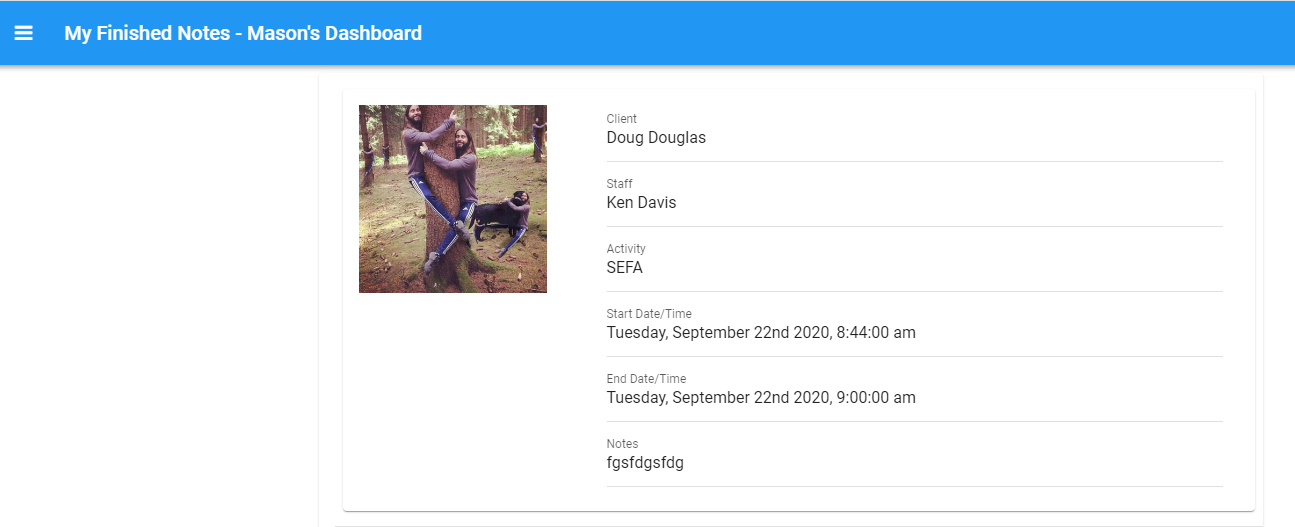
This is a list of the last 25 Event Notes written by the logged in staff person.
# My Unsaved Notes

Note:
In some versions of the software, when you clicked Exit to leave an Event Note and Finish Later was chosen, the note would be saved in such a way that it was not available in the Q Thick Client. Instead it was available here.
When a note is marked as Finish Later it will be available here to complete later. In future versions, your Finish Later note will be available in My Revisions.
# My Revisions
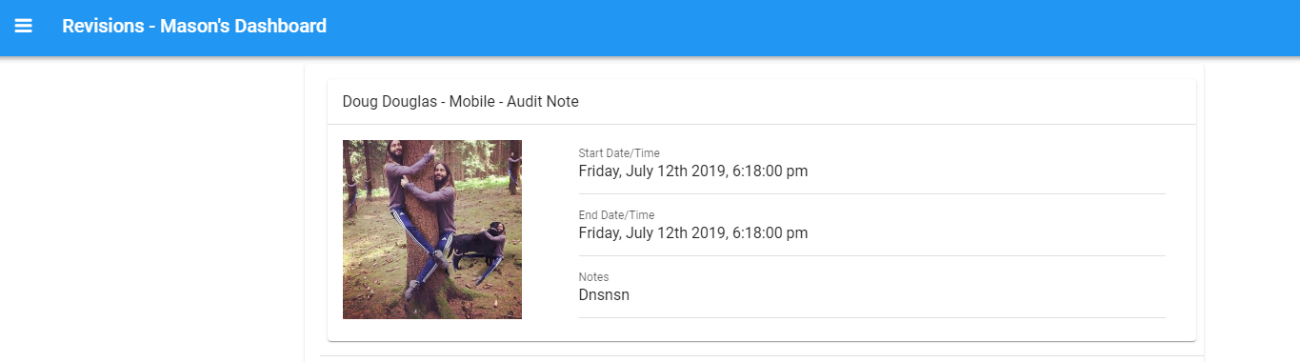
When you clicked Exit to leave an Event Note and Finish Later was chosen, the note will be saved to the server in a Finish Later status. These notes are available in both the Q Thick Client and in the Mobile. Select the Event Note you wish to complete from the list.
# My Messages
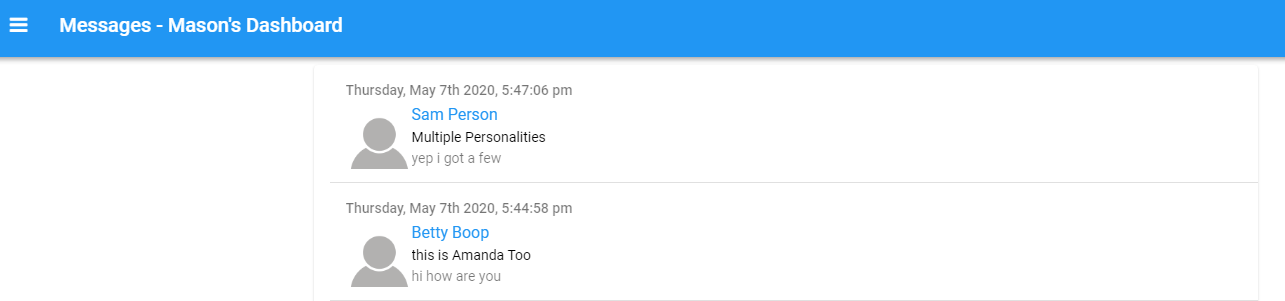
WARNING
This feature is not yet fully implemented.
This is an integration with Qmunicate and Quantum Messaging to allow the user to send and receive messages. However, this application is just prototyped and is not completely functional.
# External Links
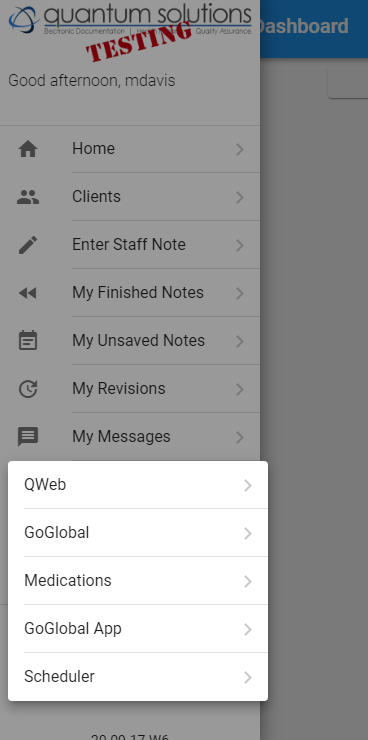
This is a list of preconfigured hyperlinks specified by your System Administrator. Select an option from the list to follow the hyperlink.
# Dark Mode
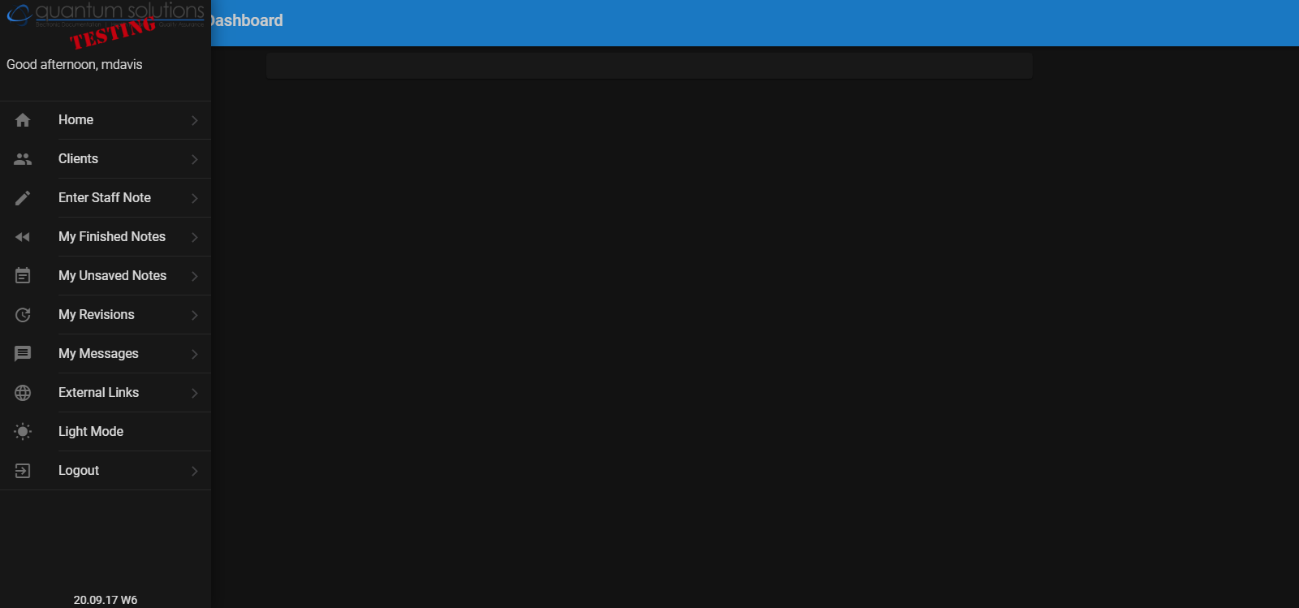
This setting will toggle between Dark Mode and Light Mode.
# Logout
Pressing Logout will log the user out and return to the Login screen.
Last Updated: 10/1/2020