# QMunicate
# Introduction
# Launch the App
To launch the app type in the apps URL into your computer’s search bar.
QMunicate URL
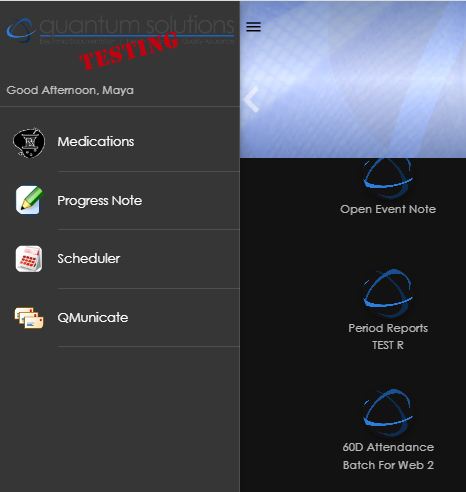
If the user launches the app from dashboards the dashboard selected will be carried over to QMunicate and the user will be able to see messages for that dashboard only and will not have the option to switch between dashboards.
# Login
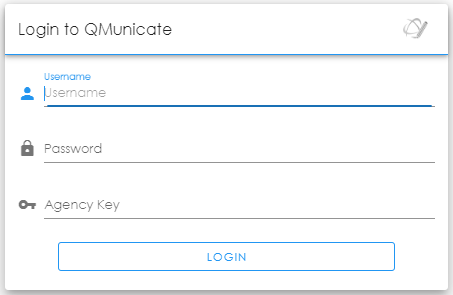
Login using the username, password, and agency key provided by the Admin.
# Select a Dashboard
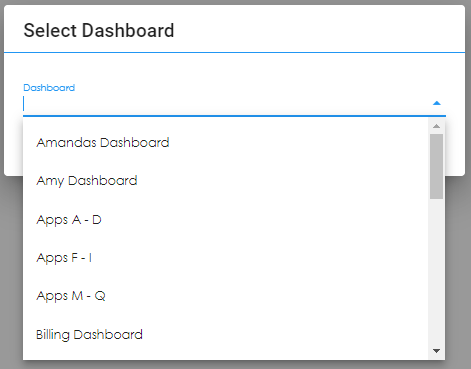
After logging in the user will be prompted to select a dashboard to gain access to their inbox and outbox. Depending on the dashboard picked, the user will see different messages.
Note
Users will see messages that are sent to the facility associated with their selected dashboard. For example, if a user sends a message to Cardinal Home anyone that has selected a dashboard associated with Cardinal Home will see that message. If that user were to change dashboards to a dashboard that is not associated with Cardinal Home then they will no longer see the messages sent to the facility.
# Main Messaging Screen
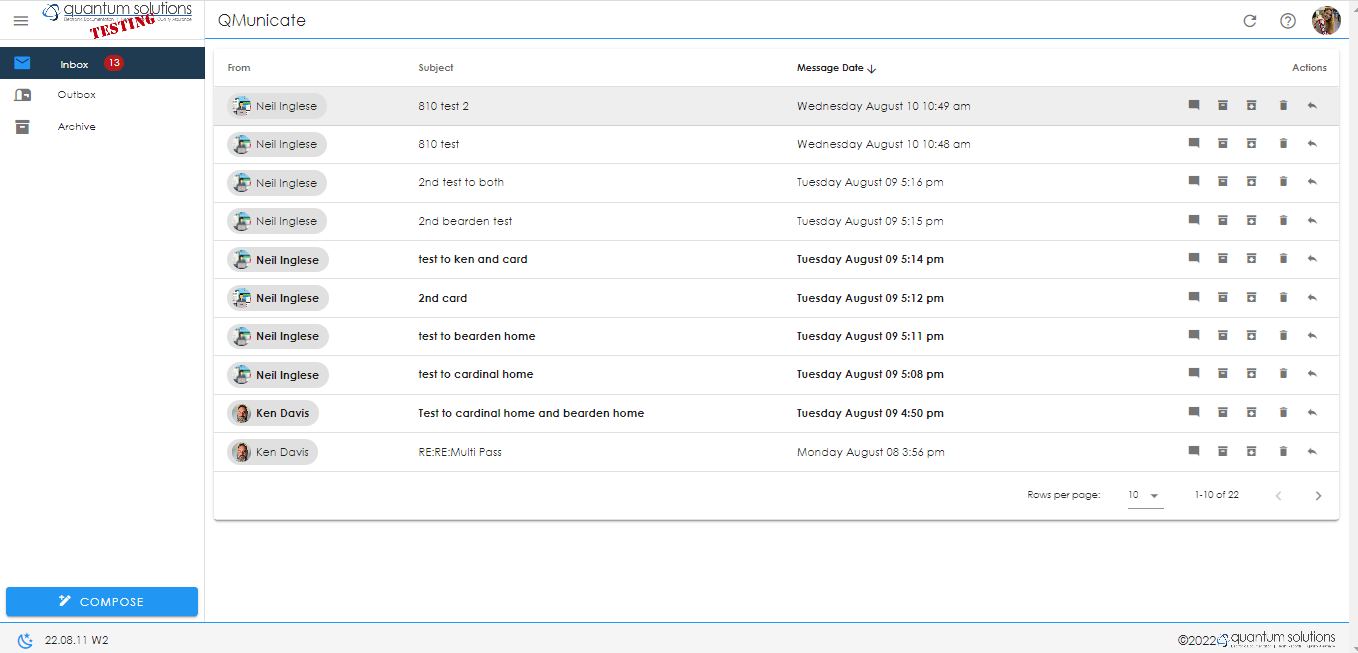
This is the main screen that will open after the user picks a dashboard. The left side panel shows the inbox, outbox and archived messages. The middle screen shows all the read and unread messages based on what setting is picked from the left panel. In the picture above, the inbox is selected so all the messages shown are in the inbox. The bolded messages are unread, and the grey messages are read.
# Messages Functions Bar

These are the functions that the user can do to the message.
Most users will only have the option to receive and reply to a message, but some users will have the special permission to see who has read the message, archive a message globally, delete other users sent messages and create a new message.
# Message Tracking

Message Tracking shows who all that has been sent the message has received and read the message.
Note
This is a special permission function only.
# Archive

Archive moves the message into the archived messages where it will be removed from the inbox but the user can still have access to it in the archives folder.
# Archive Globally

With special permission given by the users Admin, a user can archive a message for everyone and not just for themselves.
# Delete
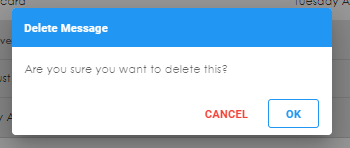
A user can delete a message that they sent but they have to have special permission to delete a message that someone else sent.
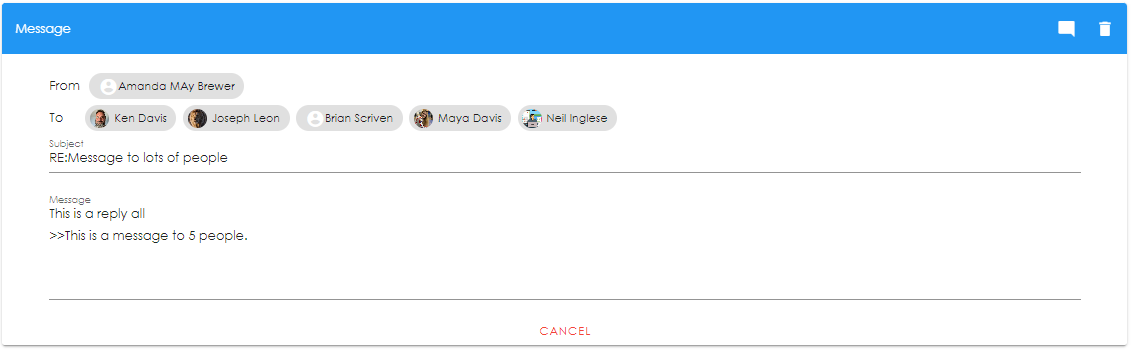
# Reply

The user can reply to a message by either replying to the other user who sent the message or if the message was sent to multiple people in the same thread they can reply to all those in the same thread.
# Functions Bar
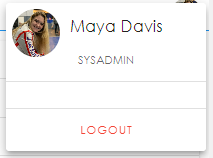
# Profile
# Light/Dark Mode

This is the toggle to go between light and dark mode, it is found in the bottom left hand corner of the screen.
# Messages
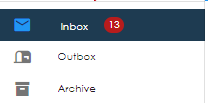
At the top of the side panel of the left side of the screen, the user can switch between the different message boxes. The message box selected will be highlighted dark blue.
# Outbox
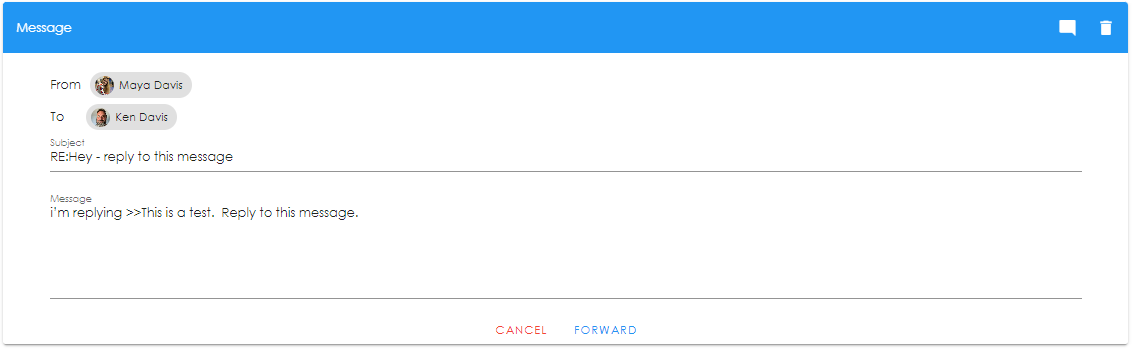
The outbox shows messages that the user signed in has sent. The image above shows what the message looks like when selected. The user can forward the message using the forward button, they can track the message (if they have that permission turned on) by using the track message button in the top right corner, or they can delete the message (if they have that permission turned on) by clicking the delete button in the top right corner.
# Inbox
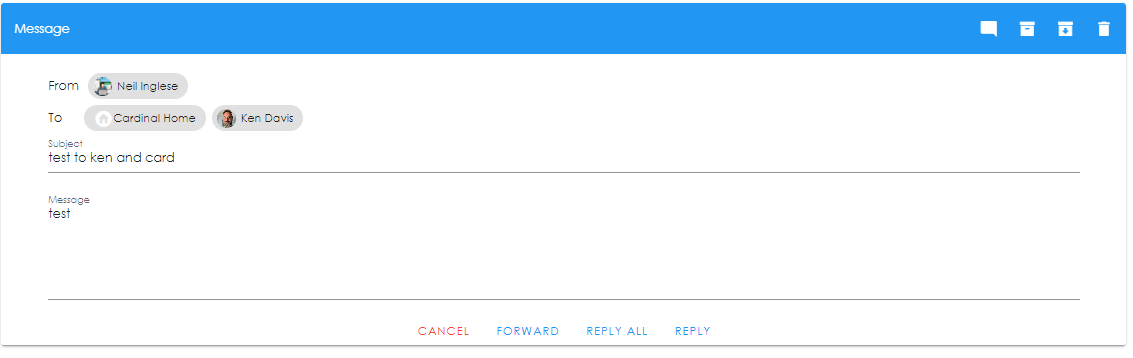
The inbox shows read and unread messages. The picture above shows what the message looks like when it is opened. The user can see who sent the message and everyone the message was sent to. There is a subject line
# Archives
# Compose
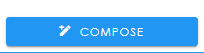
To create a new message click compose. This is also only available when given special permission.
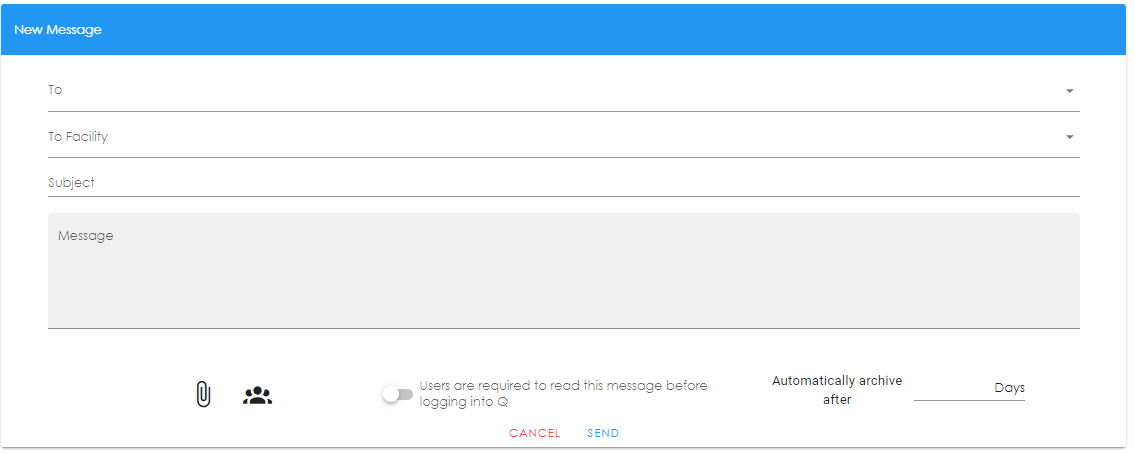
This is what a blank message looks like. The to is a certain staff member

# Change Log
Version 25.02.20 W
Version 24.11.24 W
Version 24.11.05 W
Version 24.10.31 W \
← QMobile Safety Checks →