# Scheduler
# Introduction
A web based clinical scheduling and payment system that can be used to schedule time with a client or a group of clients in a clinic, day program, or community based setting.
# Launch
The app can be accessed in your browser by entering the Scheduler URL in your browser’s address bar.
# Login
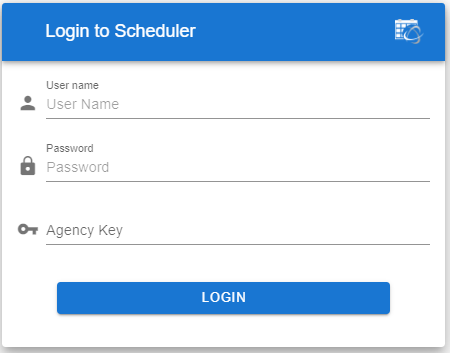
The Login screen will be presented when you first launch the web app. The user will insert their User Name, Password, and Agency Key assigned to them by their Admin.
# Select Dashboard
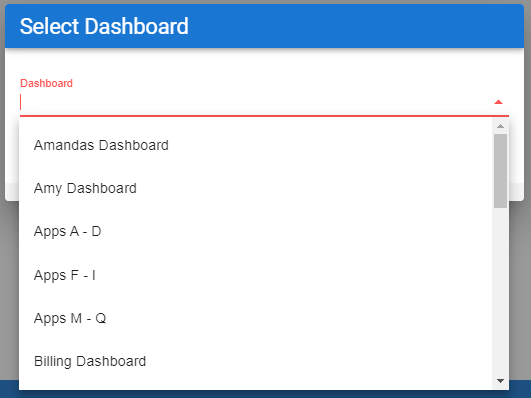
After the user logs in, the ‘Select Dashboard’ screen will appear for the user to select a dashboard based upon what client group the user is looking for. Rather than scrolling through all of the available dashboards, the user can type the name of the dashboard that they are looking for.
# Calendar View
When viewing the calendar, there are multiple different ways the user can view their calendar. The user can cycle through the different views by selecting the timeframe in the top right corner of the calendar.
# Day
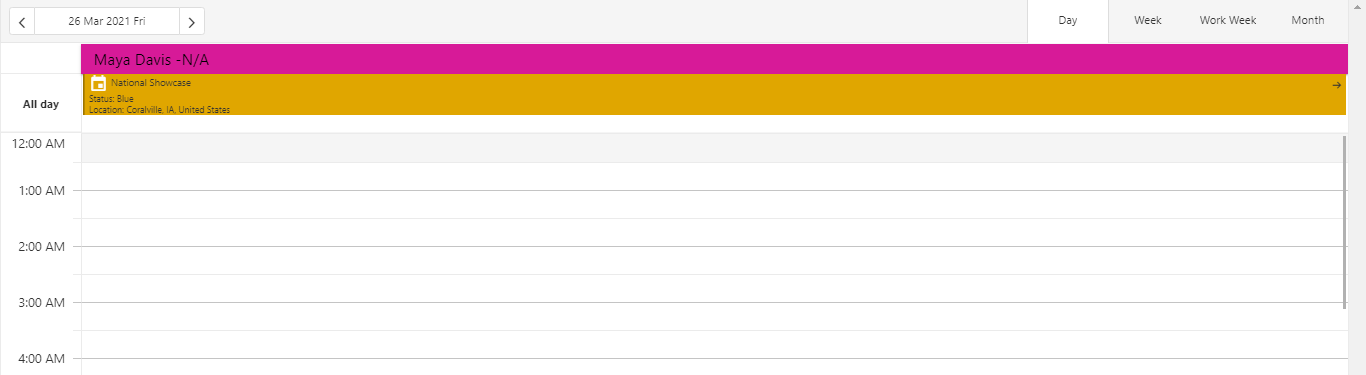
Day view will only show appointments for that particular day.
# Week
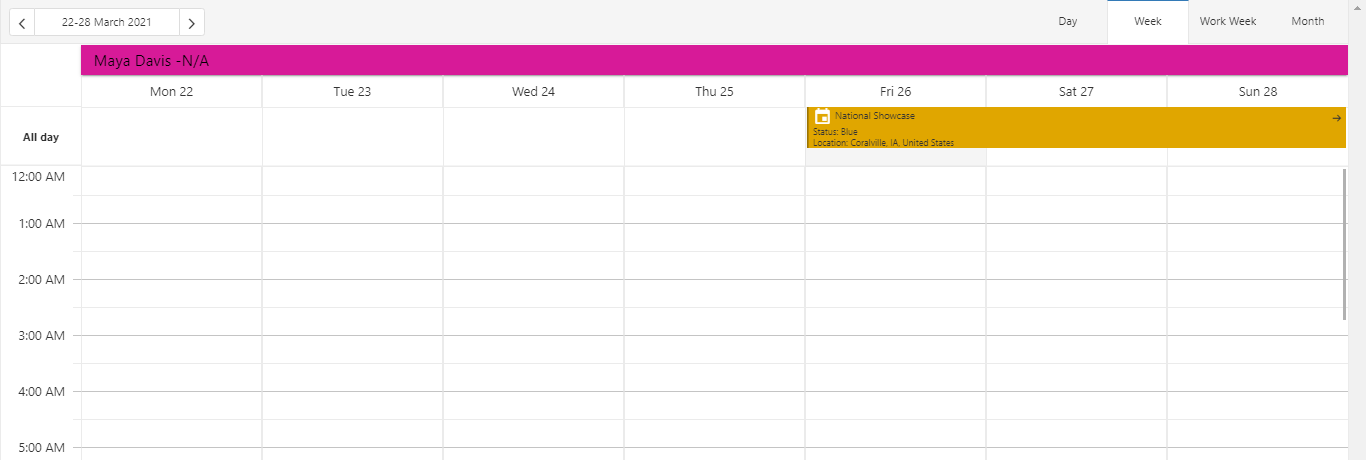
Week view will show all appointments throughout the regular week. This view is Monday-Sunday.
# Work Week
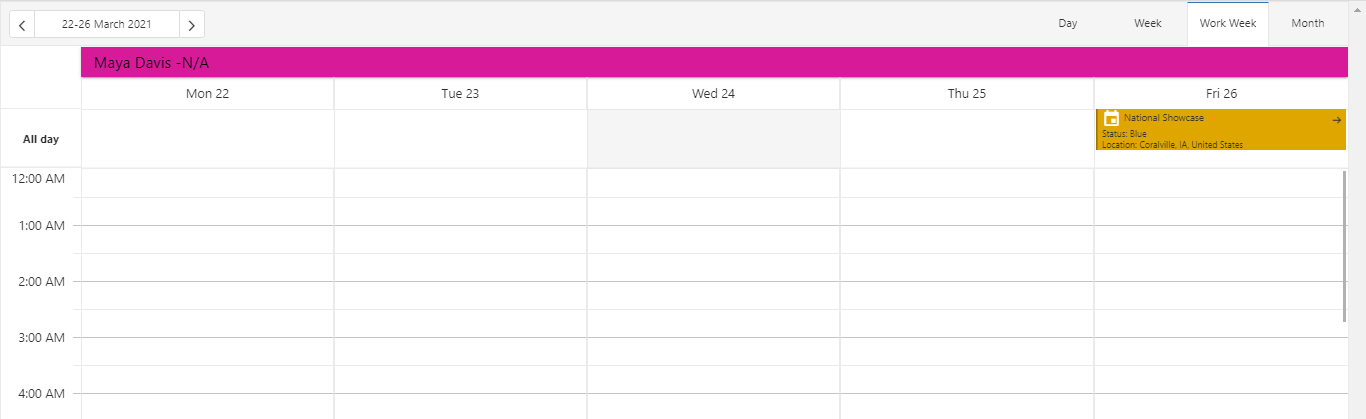
The Work Week view will only show appointments that are scheduled during the work week. Monday-Friday
# Month
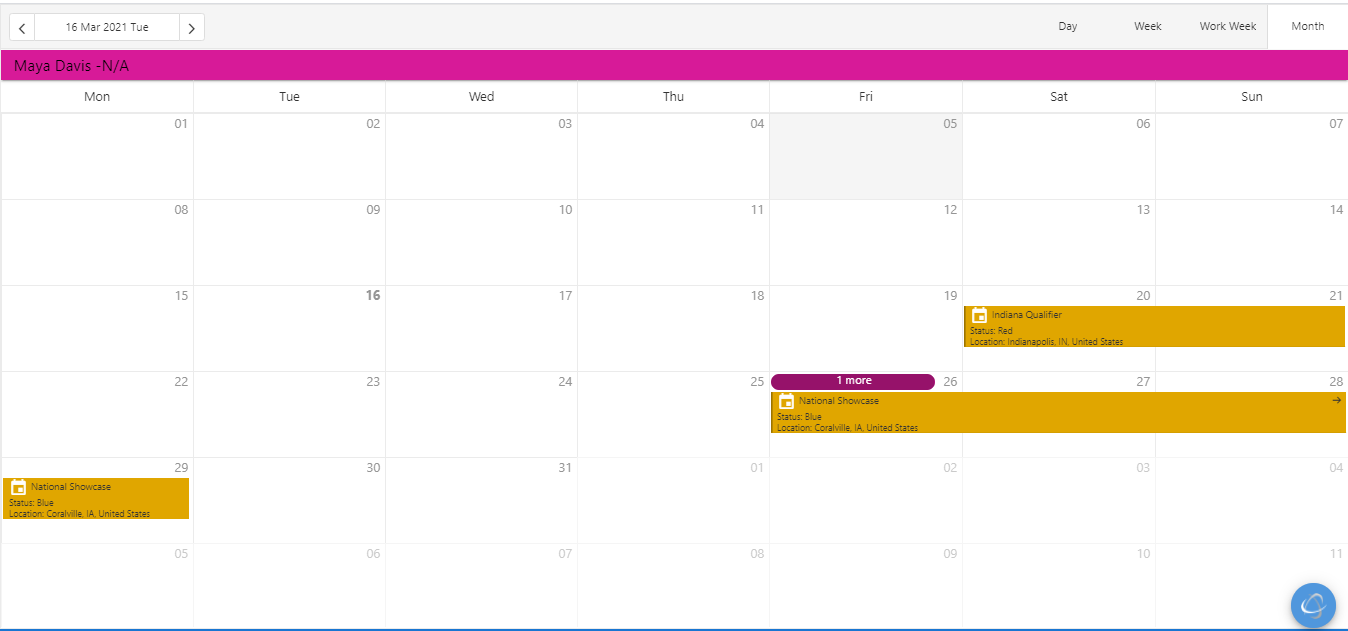
Month view shows all appointments throughout the month.
# Add Appointment
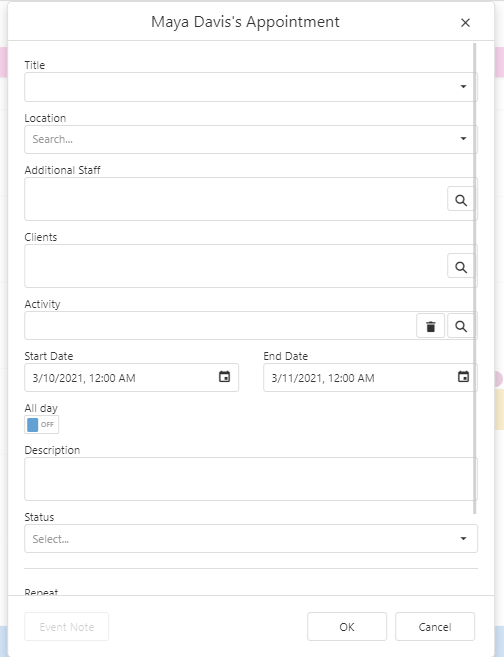
To add an appointment just double click the day that the appointment is meant to be scheduled. This appointment sheet will be brought up for the user to fill out. Click ‘OK’ to save, and “Cancel’ to not save the new appointment. It will then return the user back to the calendar screen.
If the user double clicks on an already existing appointment from the calendar, they can view the completed appointment sheet and still make changes to the appointment. Be sure to click ‘OK’ or the changes won’t be saved.
Once the appointment is saved, and is placed on the calendar, and the user opens it back up to edit or to view, the ‘Event Note’ button will have turned from light grey to dark grey and look like the ‘OK’ and ‘Cancel’ buttons. This will only take the user to a new tab where they can enter an Event Note if there is a Client and Activity entered.
# Adding a Client

Use the magnifying glass to search and add a client to the appointment.
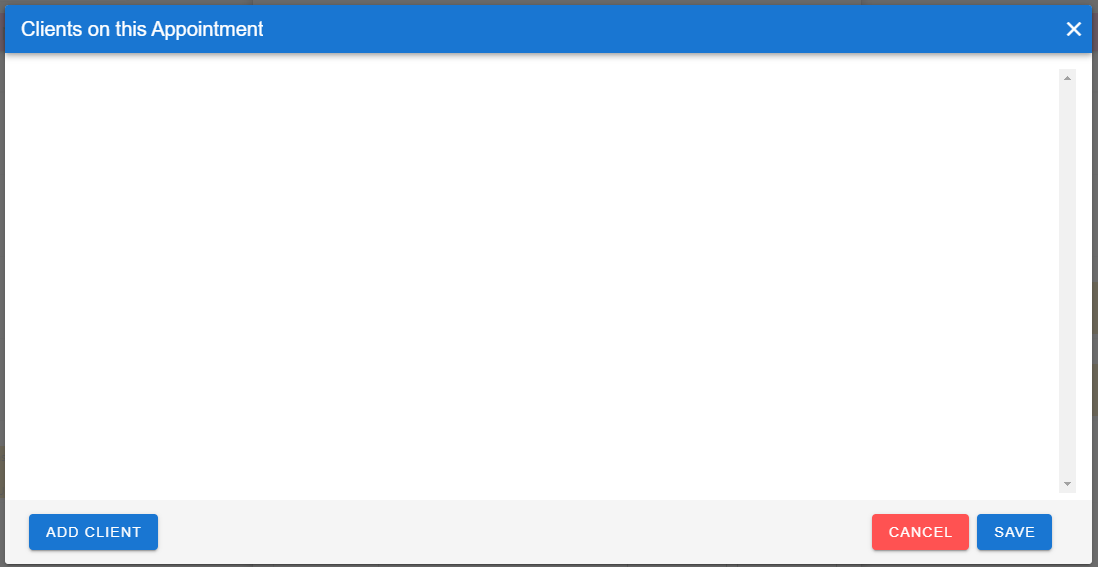
The screen will be blank if there are no clients attached to the appointment. To add a client, click the

button in the bottom left hand corner.
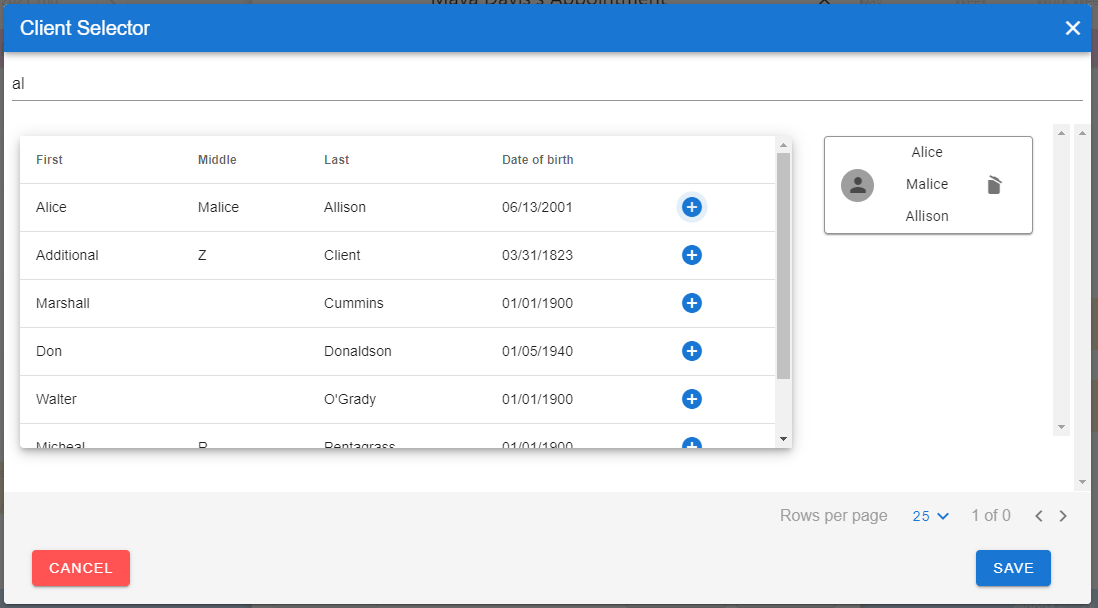
After clicking the ‘Add Client’ button, the user can use the top search bar under the blue Client Selector heading to begin typing in the name of the client they are looking for. Once the client has been found click the plus symbol inside the blue circle to add it to the right side of the screen. Click Save to save changes and continue to the new ‘Clients on this Appointment’ screen (with the newly added client) or Cancel to exit out of the Client Selector. Clicking Cancel will return the user back to the ‘Clients on this Appointment’ screen (without that client).
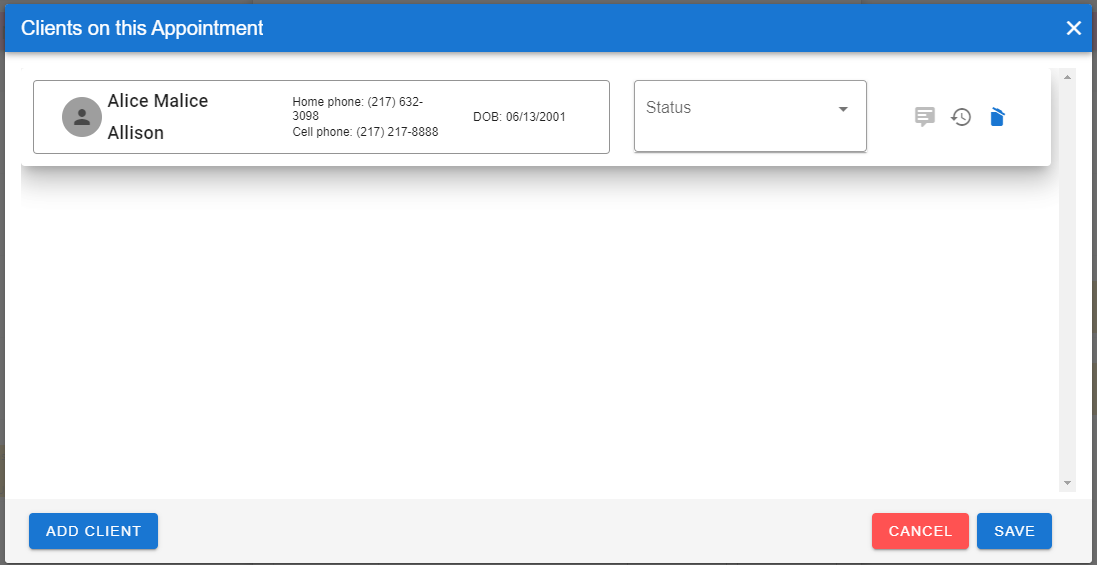
The new ‘Clients on this Appointment’ screen will show the list of any clients that are on the appointment. It will also have a box labeled as ‘Status’.
# Status
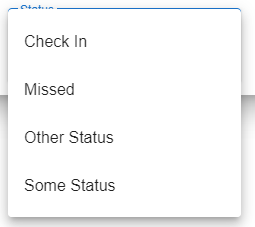
These are the current status options. If the user is trying to Check in the client, they would select the ‘Check In’ button. If the client missed the appointment for some reason, click the ‘Missed’ button. The ‘Other Status’ and ‘Some Status’ are just other examples of status options.
# Status- Check In
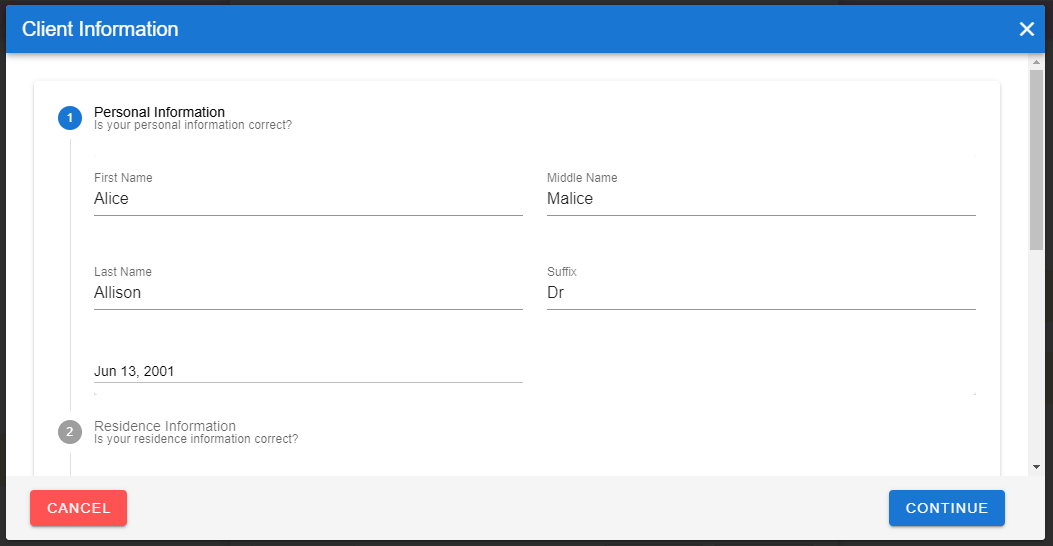
If the user is checking in a client this Client Information questionnaire will appear. The user can either scroll through the sections which are numbered and select the section they are looking for to check the information (these are drop downs), or they can click the ‘Continue’ button in the bottom right corner to move onto the next section. Each section is different and has different questions, some with drop downs, some with places to type, along with comment/notes sections. Once the user has gone through all the sections, the ‘Continue’ button will turn into the ‘Save’ button. Once the client is fully checked in, the user will be returned to the ‘Clients on this Appointment’ screen where the user should click ‘Save’ so their changes can be saved. After the user has clicked ‘Save’ they will then be taken back to the main Adding an Appointment screen or to the Appointment Information screen depending on which they came from to being with.
# Status- Missed
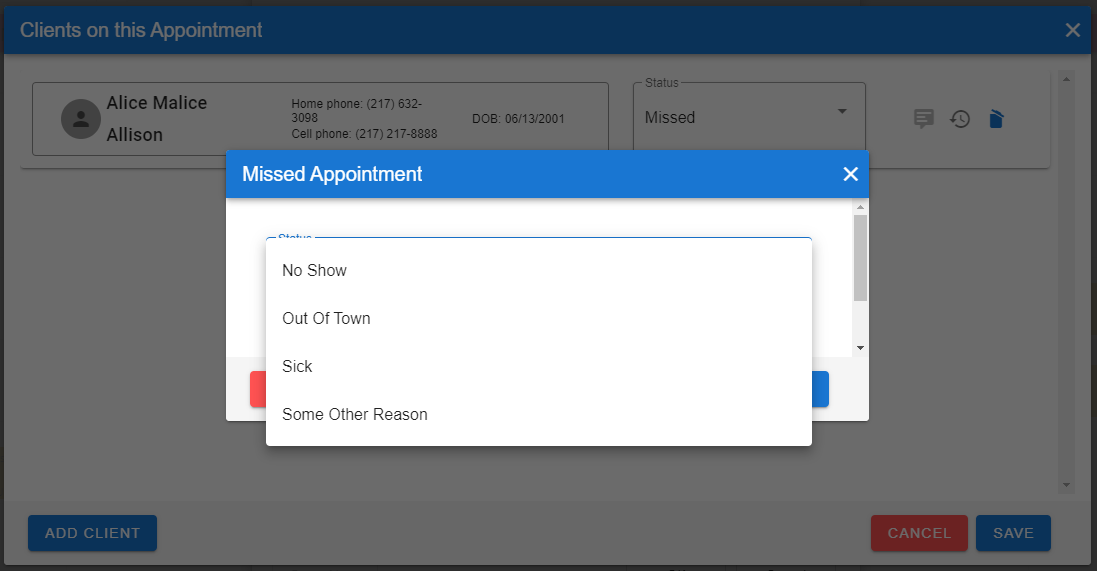
If the user selects the status as ‘Missed’ then the ‘Missed Appointment’ screen will appear asking for a reason as to why the client missed the appointment. After the user has selected the reason, if they scroll down to just below where the drop down is, there is a notes section where the user can add any addition notes to the appointment. Once the reason has been added, click ‘Save’ and then the user will be returned to the ‘Clients on this Appointment’ screen where they should then click ‘Save’ so their changes will be saved. After the user has clicked ‘Save’ they will then be taken back to the main Adding an Appointment screen or to the Appointment Information screen depending on which they came from to being with.
# Activity Selector
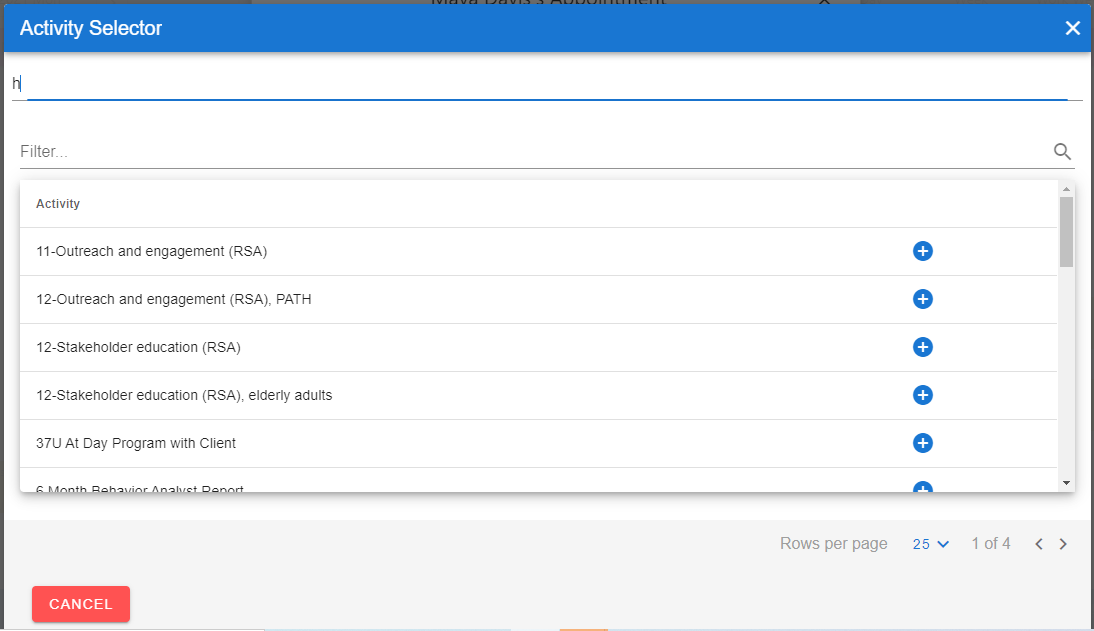
To add an activity, first click the magnifying glass in the Activity section of the Add Appointment screen. This screen will be brought up, and at first the box labeled as ‘Activity’ will have a red box inside of in saying ‘No items to display’. Using the top search bar, begin typing out the activity you are looking for. Just by typing a couple of letters, any word with that combination of letters will be filtered in. Typing the whole activity will only show the activities with that same name. To add the activity to the appointment, click the blue circle with the plus symbol. The user will then be taken back to the Add Appointment screen. To delete the activity, click the trashcan icon that is in the Activity section next to the magnifying glass.
# Event Note

The Event Note button, in the bottom left-hand corner of the Add Appointment screen will redirect the user to another window where they can add an Event Note. For the Event Note button to be selected, it must be in the darker grey colored text. The button will only be available if the appointment has already been created, and there must be a client and activity selected, as well as a start date. The Event Note will be processed the same way as the Event Notes in QMobile.
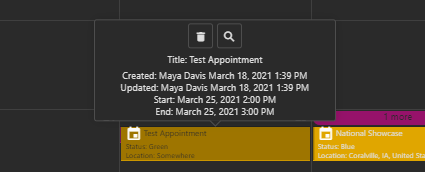
When the user clicks one time on the appointment this message will appear, it is a short summary of the appointment. The user can delete the appointment by clicking the trashcan icon at the top. The user can also use the magnifying glass to search for clients and add clients to the appointment.
# Blue Circle Menu

When a user selects the Menu button located in the bottom right-hand corner, a list of available functions will be displayed.

The list of functions from top to bottom are Logout, User Guide, Light/Dark Mode, Select Dashboard, Appointment History, Adaptability Mode, Cell Duration, Save My Scheduler Settings, Print Schedule, Administrative Security, and Add Calendar
# Logout

When logging out, any information not saved, will not be saved and will not be able to be retrieved.
# User Guide

This is how a user can access the User Guide through Medications.
# Light/Dark Mode

This function will toggle between light and dark mode.
# Select Dashboard Button

This is how the user can search for a dashboard when they want to switch dashboards without logging out. It will bring up the ‘Select Dashboard’
# Appointment History

This will show the history of all appointments for a specific client. This will show all past and future appointments.
# Adaptability Mode

This will change the appearance of multiple appointments scheduled in a single cell (or day)
# Cell Duration

This is the length of the appointment time. The Cell Duration can be scheduled as 15, 30 or 60 minutes.
# Save My Scheduler Settings

The ‘Save My Scheduler Settings’ button saves all the personalized settings that the user has changed to their Scheduler. This could be the Light/Dark Mode or Adaptability Mode.
# Print Schedule

The print schedule button will print the calendar for a particular user or group of users.
# Administrator Security

This button opens settings that only the Administrator has access to.
# Add Calendar

To add a new calendar to the users viewing screen click the ‘Add Calendar’ button. When a new calendar is added, the user will not have access to delete any appointments or make changes to pre-existing appointments but can add to the calendar.
# Single Calendar

This will open another calendar next to the users already open calendar. The user can select whose calendar they are seeing
# Group Calendar

Group calendars show calendars that are controlled by a group of employees.
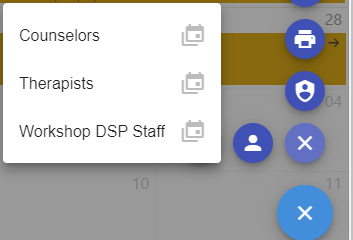
This is an example of what the Group Calendars can look like. They will each have a different name/title and can be accessed by clicking on the ‘Group Calendars’ button and then picking the calendar the user wished to see.
# Remove All Calendars

This will close all the open calendars.
# Change Log
Version 25.03.25 W
Version 25.02.13 W \
Last Updated 4/13/21