# Seizure Reports
# Introduction
The user can use this app to complete seizure reporting in an easy-to-use interface.
# Launch the App
To launch the app, type the Seizure Reports web app URL into the search bar. If the user launches the app from their Dashboard the client that gets selected will be preset based on what client was picked in Dashboards.
TIP
Seizure URL: https://www.qscorpio.com:3066/SeizureReports/
# Login
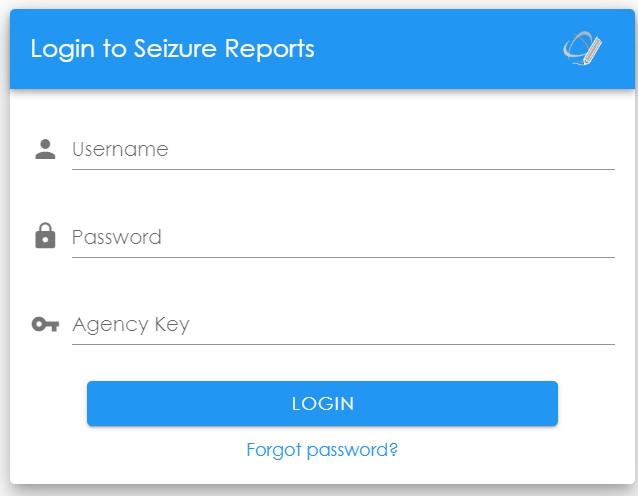
Log in using the username, password and agency key given by the Admin.
# Select Dashboard
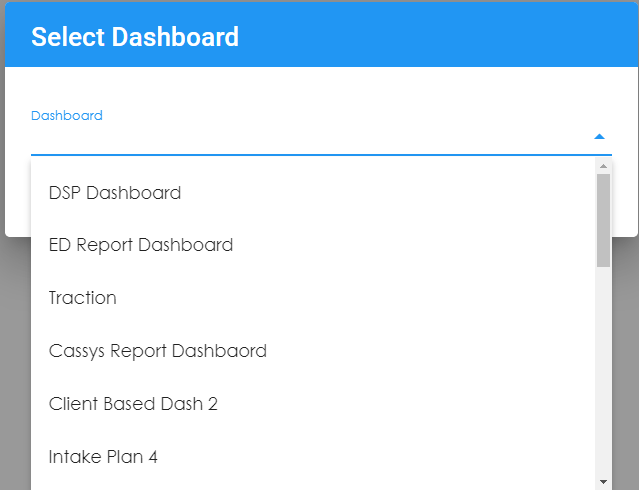
After logging in, the user will be prompted to select a dashboard.
TIP
If the user launches the app from Dashboards, the user will not be prompted to log in again or select a dashboard since they already did that in Dashboards. But the user will not be able to switch between dashboards in the app.
# Home Screen
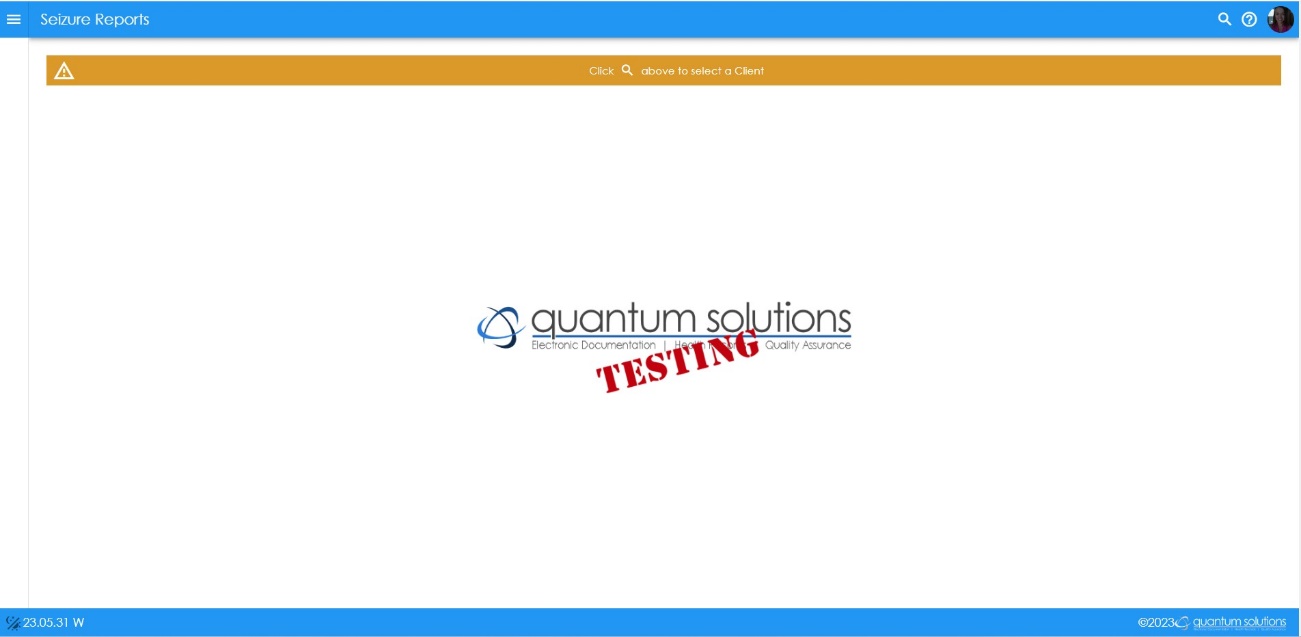

After picking a dashboard, the user will be taken to this main screen. Notice there is a header in this app with several functions present.
These functions include searching for a client, accessing the User Guide, and utilizing the User Profile with options to switch dashboards and log out. The ability to toggle between dark and white screen modes is in the footer on the left side.
# Search Clients
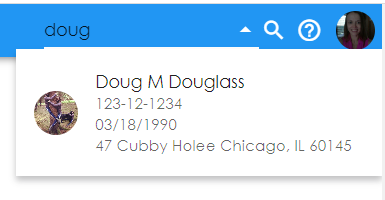
The user can search for clients by using the search bar. Begin typing the name of the client and it will bring up all possible matches for what was typed.
# User Guide

This is how the user can access the User Guide through Seizure Report.
# Profile

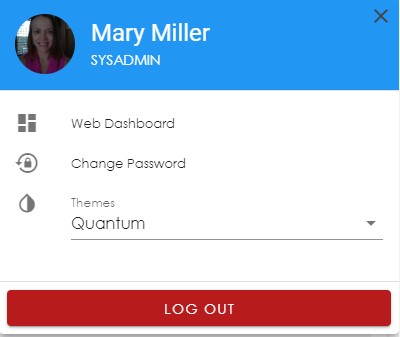
When the user clicks on the picture in the corner it opens this window which is where the user can log out of the app, change their password, and switch their Dashboard. The user can also change the color appearance of their screen through Themes.
TIP
When the user opens Seizure Reports from Dashboards the logout button and ability to switch dashboards will be inactive.
# Light/Dark Mode

This function will toggle between light and dark mode.
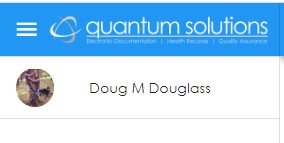
Once the user has picked up a client, the main screen will change to look like a profile of the client.
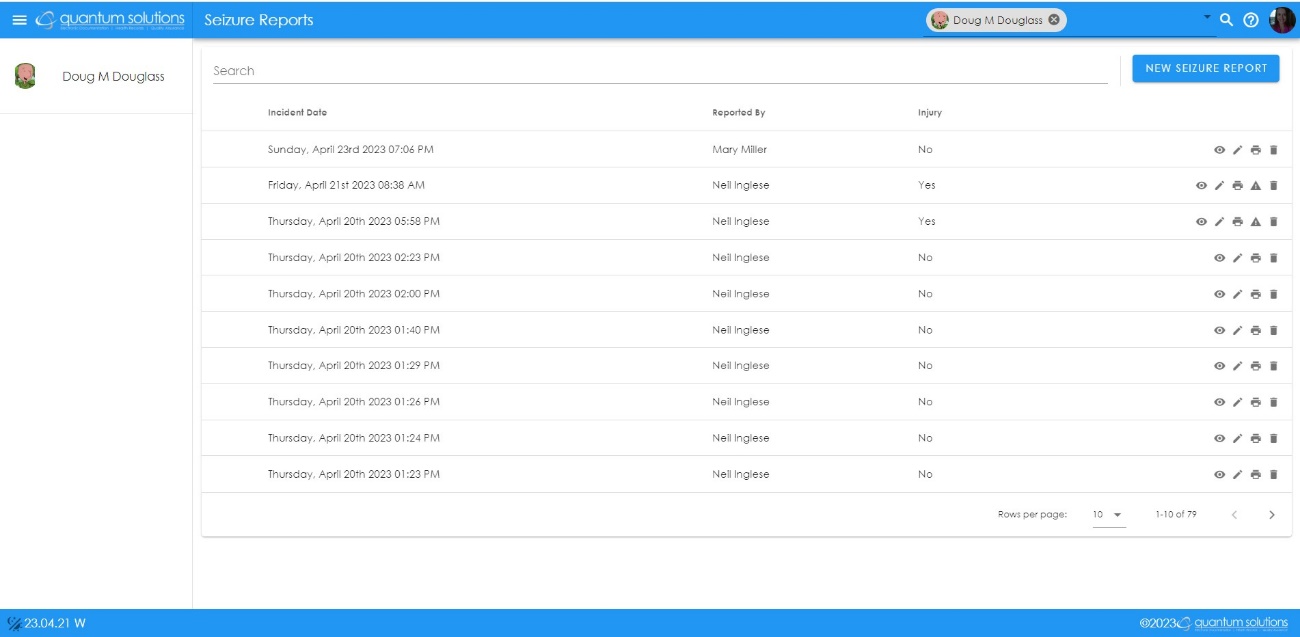
The Home Screen will show all the reports that the client has. The completed reports can be viewed, edited, and printed by all users. If the incident type is seizure, there will be a link to the associated Incident Report on the home screen. If the report cannot be edited there will be a lock icon as listed below.

# Search
The user can search for prior reports by using the search bar. Begin typing the category and it will bring up all possible matches for what was typed.

# Create a New Seizure Report

The user will click on New Seizure Report in the upper right hand of the corner to start a new report.
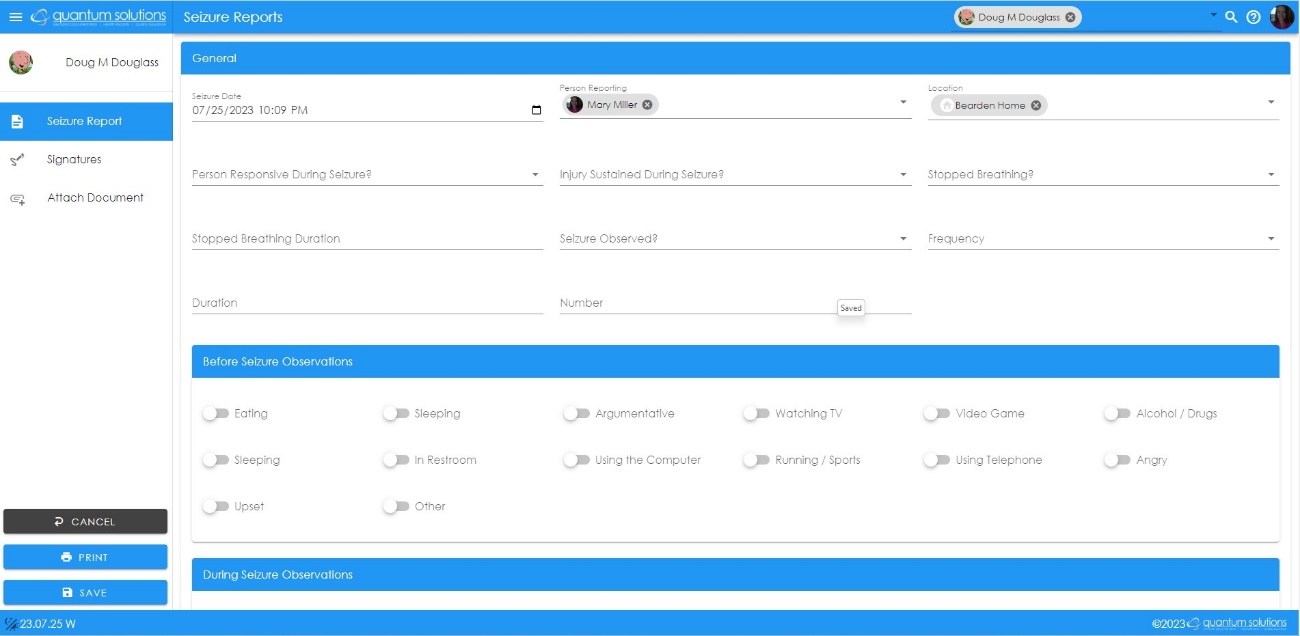
Today’s Date/Time and the Person Reporting will populate into the seizure report. If there is a default facility assigned this will populate in location. The user will complete all fields and choose all the observations that apply for before and during the seizure.
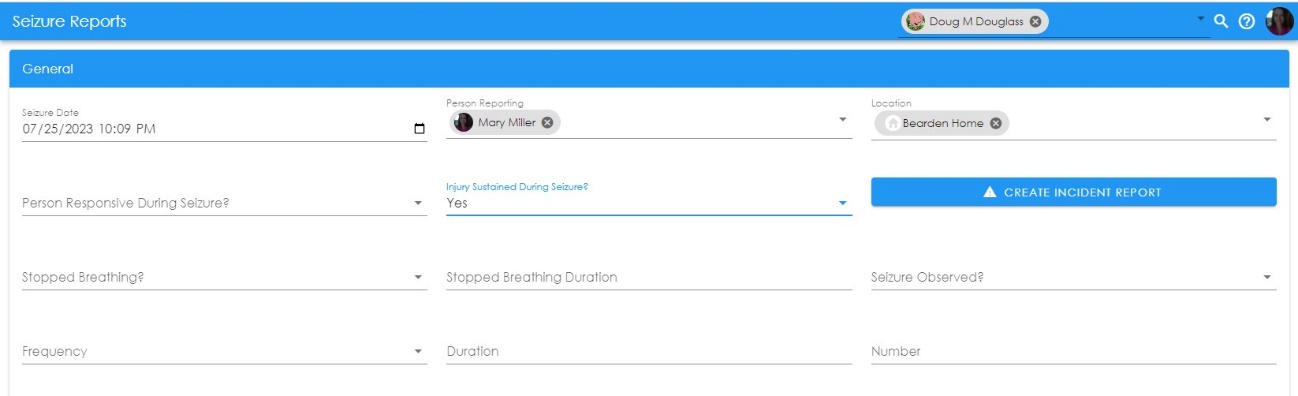
When the user selects yes for an injury sustained, there will be a prompt to create an incident report.
# Seizure Observations
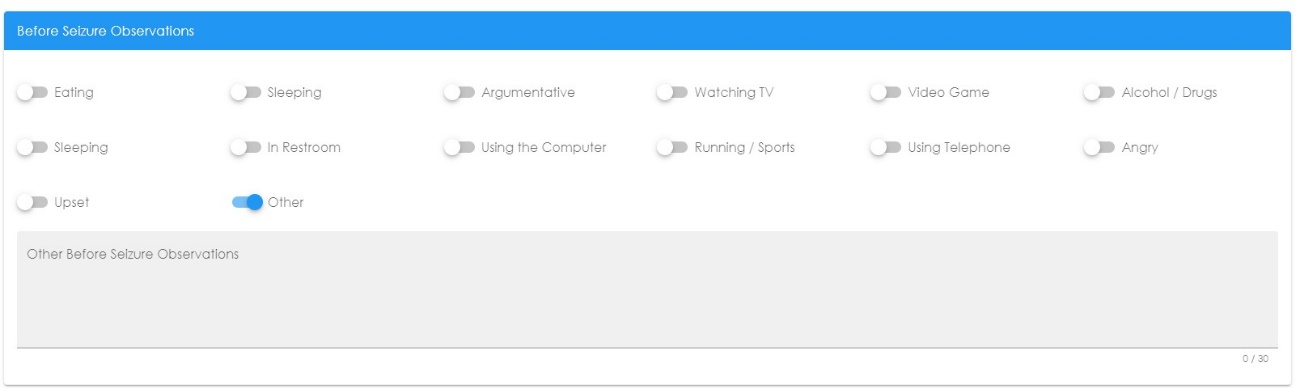


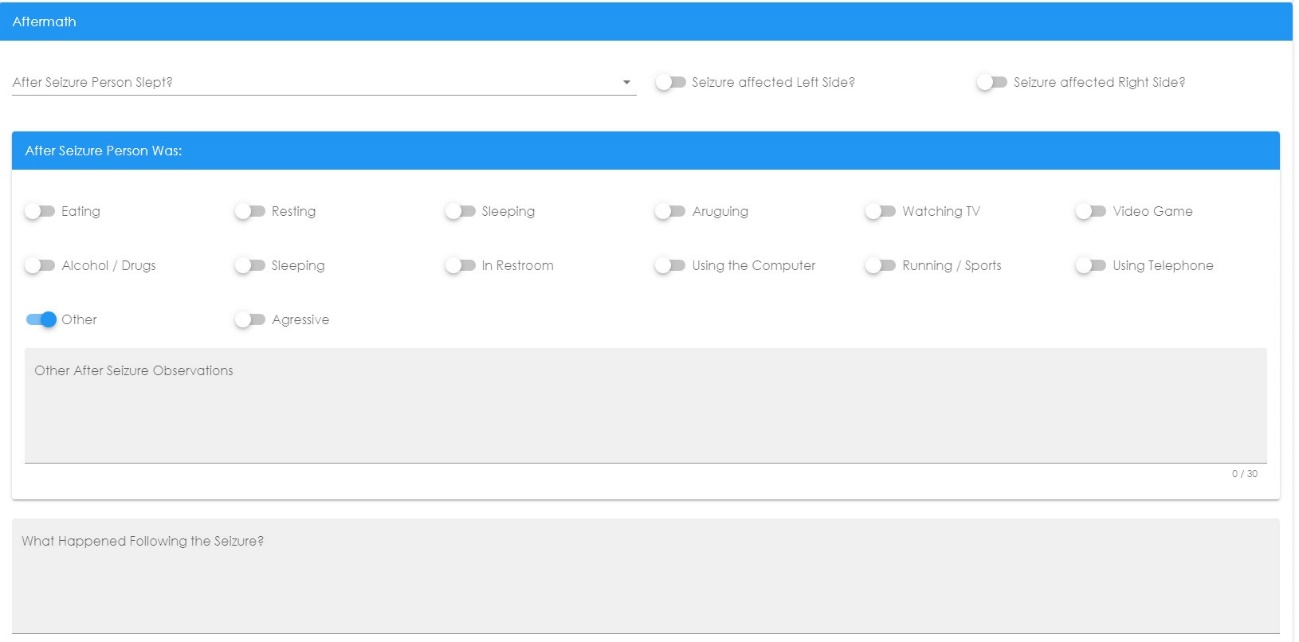
The user will enter information about their observations and what occurred following the seizure. Multiple selections may be made in relation to the seizure. When the user selects ‘Other’ additional data fields will be available for an optional narrative.
There are links to create a vital signs report or additional forms throughout the seizure report preset by the agency.

There is an optional follow up notes section at the end of the seizure report.

# Additional Functions
The function to add signatures and attach documents is built into the side panel menu. There will be default signature options populated with the option to add more. There can be multiple documents added through the Attach Document option.


There are options to save and print the report and exit without saving. The icons are in the left side panel.
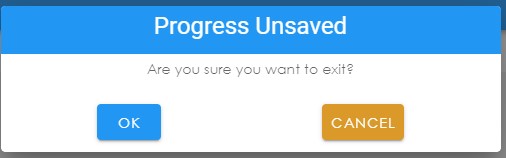
# Cancel


The cancel icon will exit the user from the report. The user will see a message that their progress is unsaved and to confirm before exiting.


The blue print icon will populate a IQ Report version with the option to print.
# Save


The blue save icon will save the report. The user will then be prompted to lock the report promptly on the following screen.
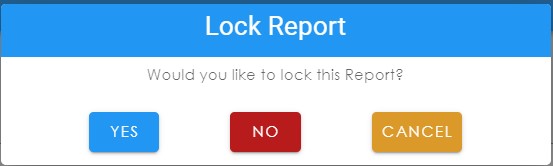
Once the user chooses Yes or No they will return to the home screen. Clicking Cancel will send the user back to the report. Once the report is locked no changes can be made without the Sysadmin first unlocking.
Last Updated: 7/25/23
# Change Log
Version 25.02.11 W
Version 24.11.11 W
Version 24.11.06 W
Version 24.07.11 W \
← Scheduler Signatures →