# Signatures
# Introduction
# Launch the App
The app can be accessed in your browser by entering the Signatures URL in your browser’s address bar.
TIP
Signatures URL https://www.qscorpio.com:3066/Signatures/login
# Login
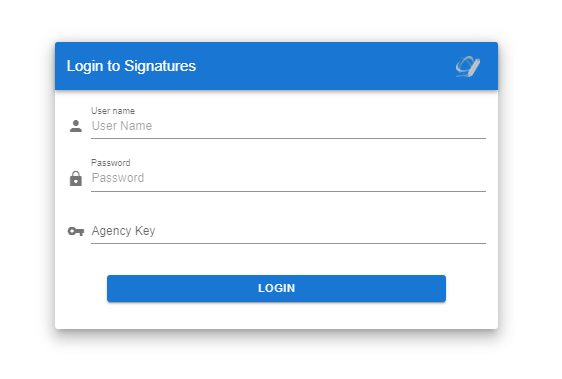
The Login screen will be presented when you first launch the web app. The user will insert their User Name, Password, and Agency Key assigned to them by their Admin.
# Home
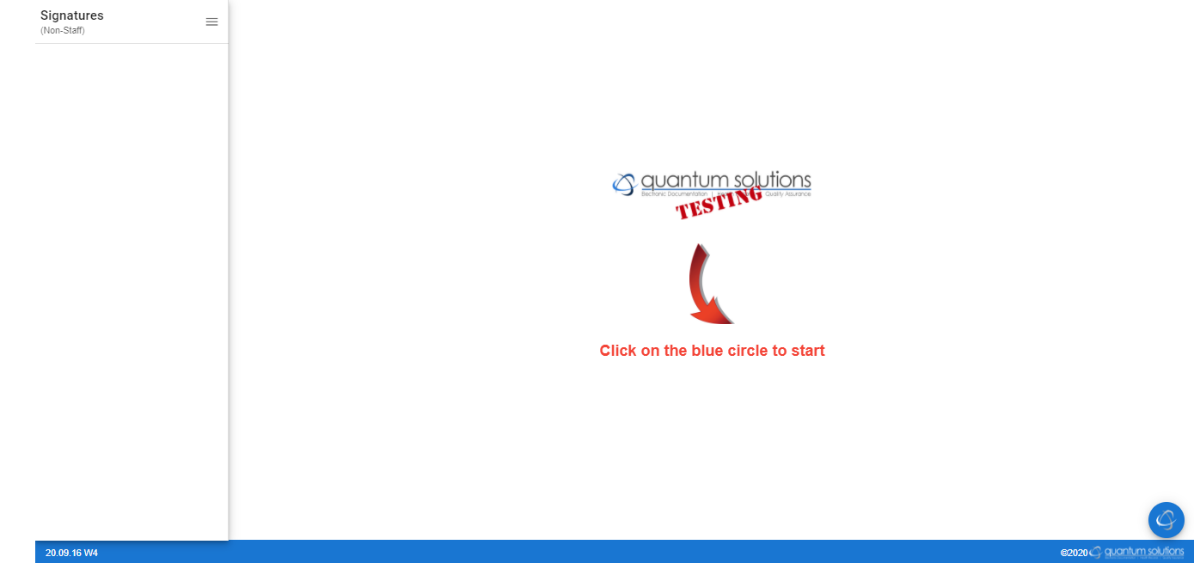
The home screen will show the user’s company logo. Initially, this screen will be blank. To begin, first click the Blue Circle Menu button to select a client and begin signing documents.
# Menu
# Blue Circle Menu

When a user selects the Menu button located in the bottom right-hand corner, a list of functions will be brought up.
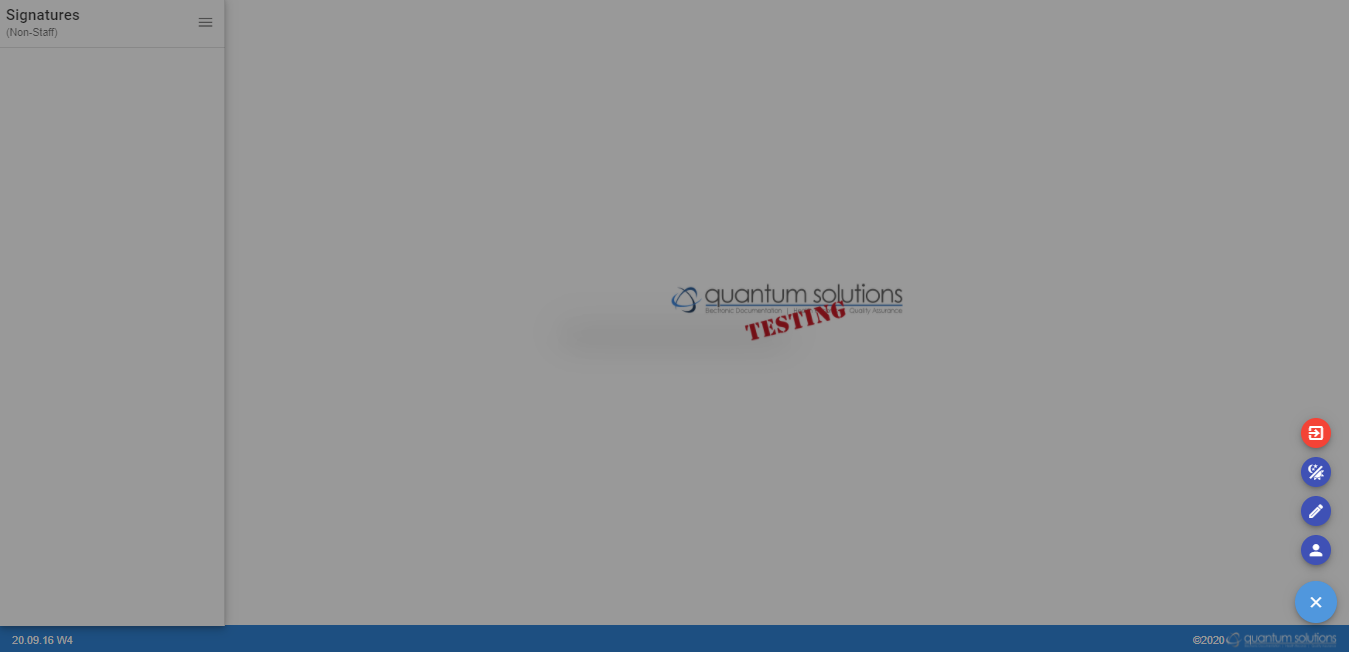
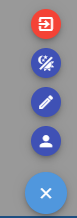
The functions from top to bottom are Logout, Light/Dark Mode, Enable Staff/Non-Staff Signatures Mode, Select Client, and Close Menu
# Select Client

The Select Client button loads the Client Selector.
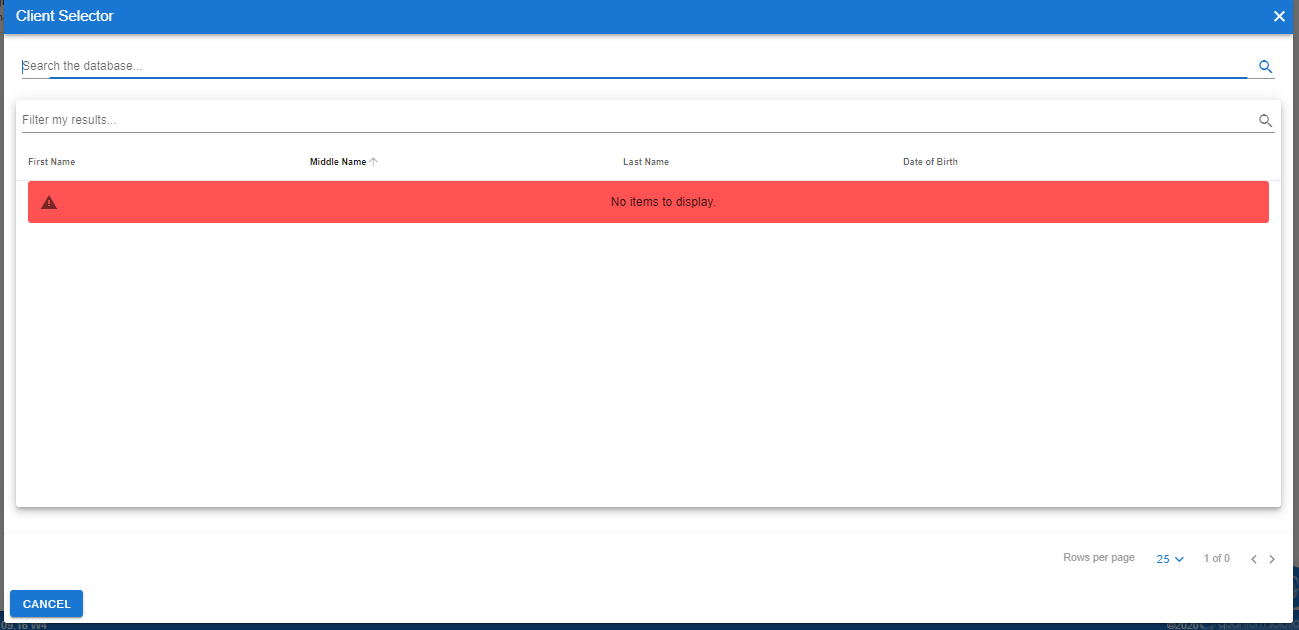
The Client Selector allows you to search the clients to which you have access. To search for a client, click the top search bar and type any portion of the clients first or last name, or both.
TIP
Searching “do do” would return Doug Douglas.
The second search bar is a filter search bar, that allows the user to filter the results of initial client search.
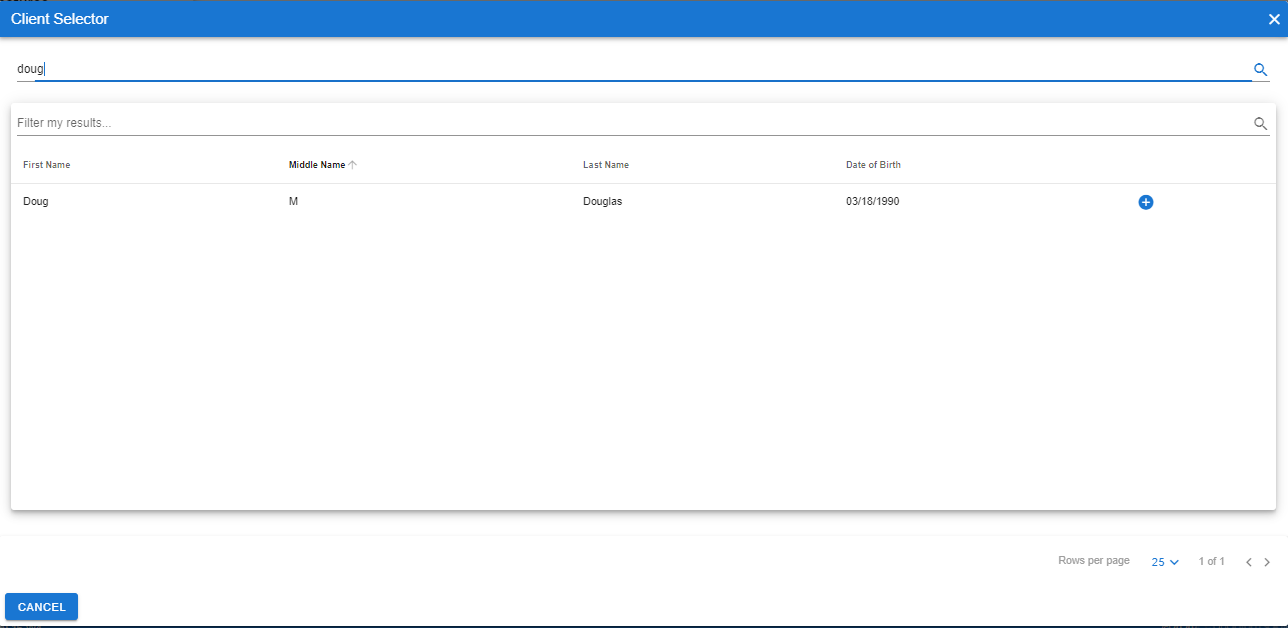
After the user has searched for a client, a list of all possible matches will appear under the filter search bar. Click the plus sign (+) in the blue circle to the right of the client’s name to pick up that client.
# Documents to be Signed
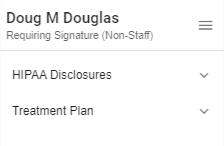
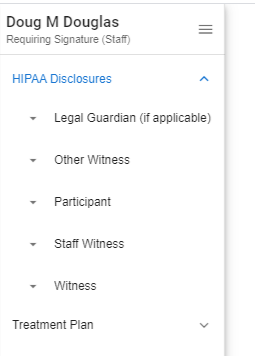
These Documents will appear in a side bar on the left side of the screen. The side bar will first appear with all the drop-downs closed but can be expanded to reveal more documents to sign. The documents are sorted based upon who needs to sign the document. i.e. The Guardian/Parent, Client, Witness, etc. "As of now, Signatures supports online signatures for HIPAA, Consents, and Treatment Plan Documents"
# Enable Staff/Non-Staff Signatures
The Enable Staff/Non-Staff Signatures button toggles between Staff Signature and Non-Staff Signature modes.
# Staff Signatures

When the system is in Staff Signature mode, it will allow for an electronic signature to be used if desired. The Staff Signature mode requires the staff person to be chosen from the list and their title selected from the dropdown. If the user clicks "Save" without signing on the on the signature control, then the system will attempt to use the electronic signature and prompt for authentication if required.
# Example Document

Under the type of document on the left-hand side, the documents to sign are grouped by who needs to sign them. Once the user has selected the who needs to sign group the user will select the document they wish for that person to sign. To the right of the document bar, the document being signed will be displayed. At the bottom of the document will be a place for the person to sign their name.
# Staff Signature

When signing the document, the user will select the staff person who needs to be signing it and then select the job title of the person signing. The Staff Signature will automatically select the staff person who is logged in to be the staff person signing the document. The staff name provided can be change by clicking the magnifying glass next to the staff person’s name and selecting the correct staff person.
Under ‘Select Staff’ is a ‘Notes’ section where the signer can add any notes necessary. To the right of the date, is an area provided for the signer to manually sign their name using either their mouse, touchpad or screen
Under the space provided for the signer to sign their name, is a ‘Clear’ and ‘Save’ button.
# Clear

‘Clear’ clears any information entered without saving.
# Save

‘Save’ will save the signature and remove it from the document needing to be signed
# Enable Non-Staff Signatures

This button loads the Non-Staff Signatures screen. When the system is in Non-Staff Signature mode, it will allow the user to type their name in the "Enter Your Name" box if desired. The user must physically sign their name in the Signature Control.
# Example Document
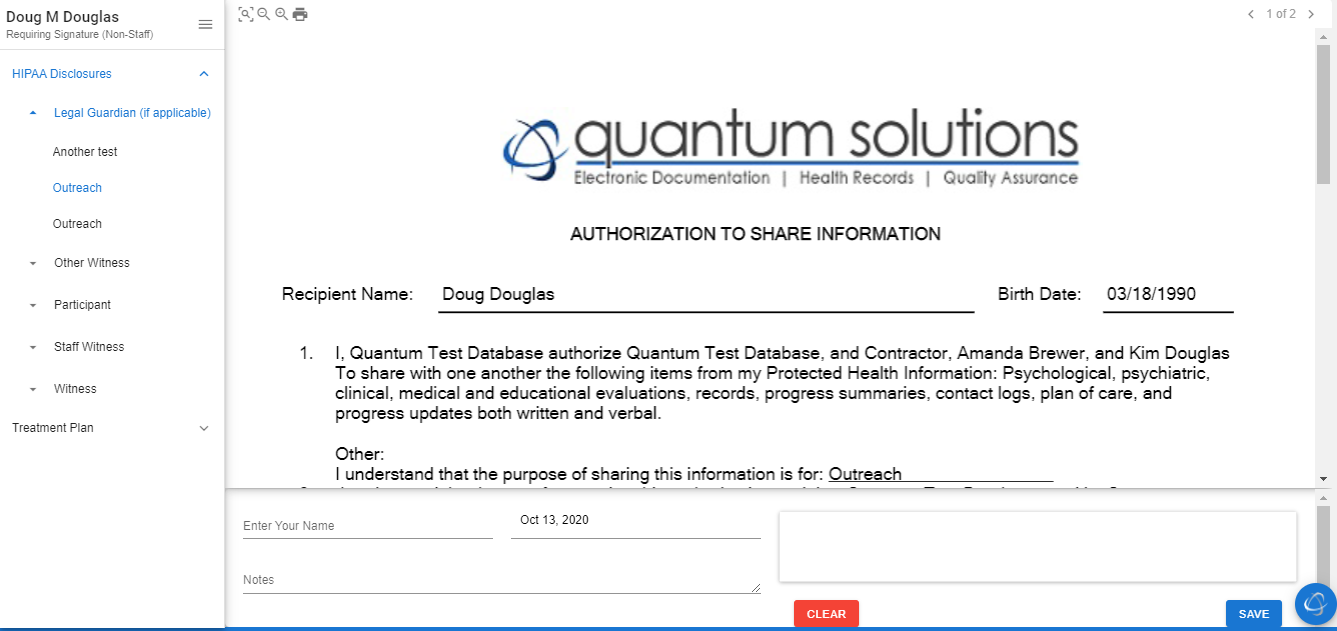
Under the type of document on the left-hand side, the documents to sign are grouped by who needs to sign them. Once the user has selected the who needs to sign group the user will select the document they wish for that person to sign. To the right of the document bar, the document being signed will be displayed. At the bottom of the document will be a place for the person to sign their name.
# Non-Staff Signature

When signing the document, the user will enter the name of the person who needs to be signing it. The Non-Staff Signature is for the non-staff people, for example the patient, or parent or guardian. The non-staff person will enter their name in the ‘Enter Your Name’ space and then sign their name to the right of the date using their mouse, touchpad, or screen
Under ‘Enter Your Name’ is a ‘Notes’ section where the signer can add any notes necessary. The user can then cancel or save the signed document.
# Light/Dark Mode

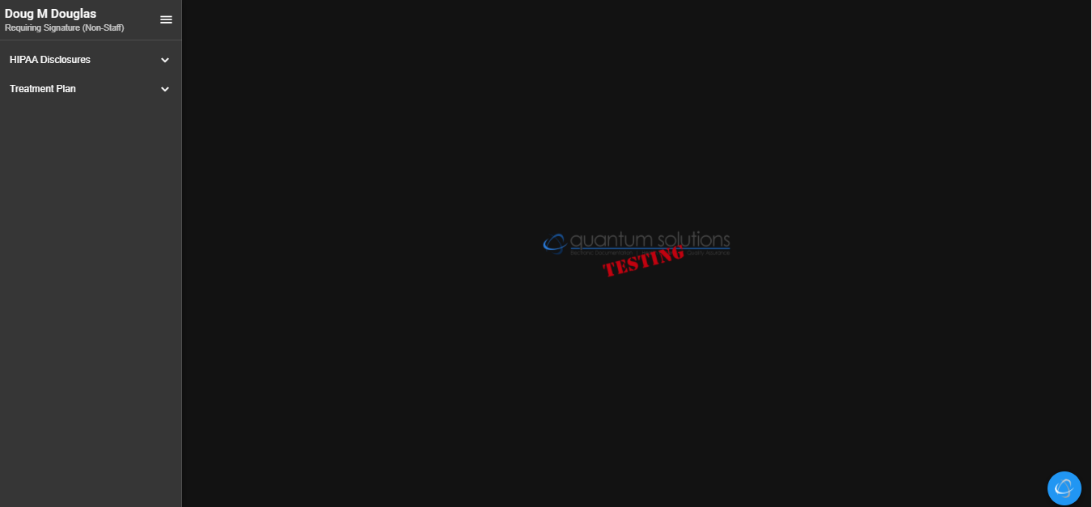
This function will toggle between light and dark mode
# Logout

When logging out, any information not saved, will not be saved and will not be able to be retrieved.
Last Updated: 10/27/20